
 EGPT
EGPT
Table of Contents
Introduction
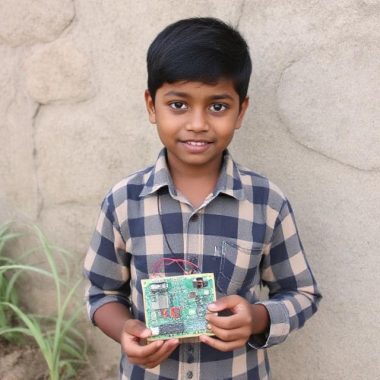
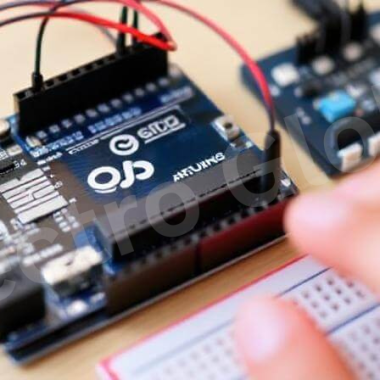
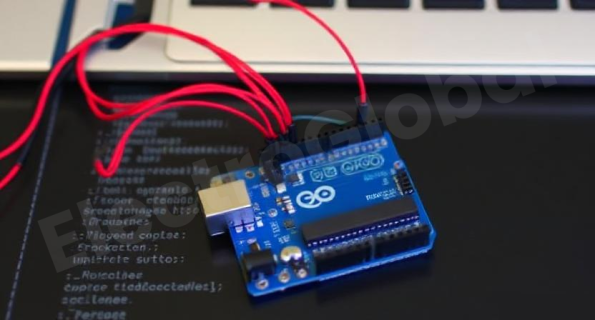
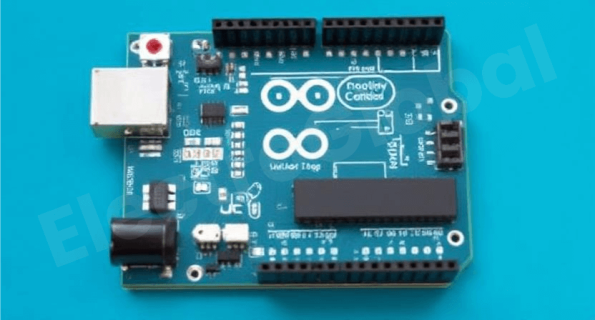
If the phrase Do It Yourself electronics or robotics is self-explanatory well-known there remains a single name that is absolutely synonymous with it, Arduino. The board Arduino Uno is rather popular among makers, hobbies as well as engineers. Whether you’re aiming at developing a simple application or complex one, the Arduino Uno is an excellent board that puts you in a position to accomplish whatever you envision.
In this blog, we will discuss how to utilize Arduino Uno to the extent without damaging it while outlining how to incorporate different sensors into the board. That is why we offer tutorials ranging from sensor pressure arduino to programming using the arduino program language and the use of other sensors such as the arduino ultrasonic sensor or the arduino soil sensor. Well, that is it for this week, but before you go, here are five essential tips if you have an Arduino Uno board.
1. Steps to start with are to Get Comfortable with the Arduino Program Language
If you are a beginner in this, one of the initial steps to undertake would be to learn the Arduino program language. Do not be frightened by this term: it is not as complicated as it may seem at first glance! Arduino Programming Language is a simplified C++ that is modified and developed for the purpose of developing interactive electronic project.
Here are some tips that one has to consider before applying it: – Begin with basic coding pattern knowledge and gradually getting the feel of a specific code. Arduino uses integrated development environment abbreviated as Arduino IDE which has basically coded libraries within it for ease. It is easy to upload code on the Arduino Uno thus make your projects work as desired.
Example Code for Blink an LED:
void setup() {
  pinMode(LED_BUILTIN, OUTPUT);
}

void loop() {
  digitalWrite(LED_BUILTIN, HIGH);
  delay(1000);
  digitalWrite(LED_BUILTIN, LOW);
  delay(1000);
}
Using just this script, the Arduino Uno will light up its onboard LED. However, as soon as you are familiar with the fundamentals, you would be able to expand it to even more challenging work. You will realize that the Arduino using program language is fairly lenient, in that you can get things done with just a few lines of code.
2. Integrating Sensors for Smart Projects
Let us now discuss how you can further extend your project using some sensors. It is equally one of the most advantageous features of the Arduino Uno board that it can interface with many types of sensors that make your projects interactive and real world. Here are some typical sensors that may be of interest to get you introduced to the concept:
Sensor Pressure Arduino:
Pressure sensors make your Arduino to calculate force or pressure exerted on the surface and it is quite useful in most of the applications such as weight measurement as well as fluids levels. This means that while pressure data is being recorded, one can regulate an action or activate a process.
Title: Pressure sensor in soil moisture system: In the monitoring of water level, the pressure sensor can be used.
Tip: Before using this device it is advisable to calibrate the sensor so that it correctly measures the amount of substance in the solution.

Arduino Ultrasonic Sensor:
Using the Arduino with ultrasonic sensor is an exemplary approach to measuring distance without touching it. It employs the use of sound waves to determine the distance of the object, which is very suitable in activities like obstacle sensing in robots or in vehicle parking sensors.
For instance, the ultrasonic sensor can be employed as a safety measure in a robot that will enable it avoid any obstacles in its way or in building an automatic door opener.
Tip: Vary distance and angles that may be active for learning about a behavior of waves associated with sound.
Arduino Soil Sensor:
There is not a single person who loves gardening or constantly monitors the environment that wouldn’t find the Arduino soil sensor somewhere around themselves. This device detects the level of moisture in the ground and it is used in the automated irrigation of plants or checking on the state of the plants.
Application: Connect the soil sensor to a smart garden that makes it waters your plants on your behalf once the soil becomes dry.
Suggestion: Let’s combine the use of the soil sensor with the pressure sensor Arduino to cover all environmental sensors.
Thus, when you integrate these sensors to your board Arduino uno, There are numerous ways you can implement it. The beauty of Arduino is that it allows for experimentation while making changes progressively; thus, it is fluid and versatile.

3. Scheduling and testing of power management to determine the best option for a long term project
Alas, if you are up to something big that need many sensors or motors then power issue is rather crucial there. The power supply of the board Arduino Uno depends on the following methods by connecting it via USB or through an external source. In battery-powered applications, some considerations that need to be made are how a device or battery can be used power to help the projects retain longevity.
Tip:To increase the operation time of the voice recorder, use a power shield or a lithium-ion battery. There are shields which are compatible with arduino board and these will enable you to control and even monitor the power and this can be important in your continuous running projects.
4. Shields: The Possibility to Expand the Functions of Arduino Uno
There are some extra boards which when placed over the Arduino Uno brings additional features to the main board. Shields if you are building something complex such as a smart home system or a robot or even a weather station will come in handy for you.
Some common shields include:
Motor shields to protect them while in use in the robotic projects.
LCD Shields for displaying sensor data or other outputs.
WiFi Shields for allowing your projects to go online and set out the IoT function.
Products utilize shielded designs that are easily connected ‘as is’, so you do not have to wire circuit schematics all by your own. All you have to do is connect the shield to your Arduino board and upload the code unto the system and ready to work.

5. Troubleshoot and Debug Like a Pro
When building more complex projects, there are some problems that arise. But do not worry, debugging is part of a standard program and when having it ready learn how to debug it. Here are a few points that will guide you to understand how you can debug your Arduino Uno board easily.
Double Check Your Code: There are moments when an error is due to a single missed letter or symbol in the code. During legal copy writing you should make sure that there is no mistakes in your work or several commands missing.
Check Connections: Make certain that all part of your design are wired or connected in the right way. Electrical issues are delicate and a loose wire is among them and this can lead to various complications.
Employ Serial Monitor: The Software used for interaction with Arduino known as the Arduino IDE contains one of the best debugging tools namely the Serial Monitor. It is possible to print values and messages to the screen in order to monitor its running process and/or find out whether it contains errors.
Conclusion: How the Board Arduino Uno Unleashes Your Creativity
The board Arduino Uno is quite miraculous in terms of its practical utility, and the possibilities with it are virtually limitless. Understanding the ways of Arduino program language, working with such sensors as the sensor pressure Arduino, or trying the Arduino ultrasonic sensor and the Arduino soil sensor will allow you to go through a somewhat more complicated level of projects and create phenomenal devices.
However, it important to remember here that the aim of the process is to have fun and play around. With Arduino, one does not have to be a computer programming wizard – the beauty of the Arduino system is that one starts somewhere and explores one’s way through. And who knows? You may never know your next big idea is just around the corner waiting for you, the next idea that will cause a change in society can be in the next project that you are about to embark on.
Frequently Asked Questions
What is an Arduino Uno board?
The Arduino Uno board is basically your beginner-friendly ticket into the world of electronics and coding. It’s a microcontroller board based on the ATmega328P chip and it’s used to build all sorts of cool DIY projects—from blinking LEDs to controlling robots. If you’re just starting out with electronics, this board is a solid choice because it’s simple, well-documented, and supported by a massive community.
How can I make my own Arduino Uno board?
Yep, you can totally build your own Arduino Uno board! You’ll need the ATmega328P microcontroller, a few supporting components like capacitors and resistors, a voltage regulator, and a way to upload your code—usually via a USB-to-serial adapter. If you’ve got some soldering skills and love tinkering, it’s a fun way to understand how the Uno works under the hood. Plus, it can save you money if you’re making a bunch of custom projects.
How do I fix “Error compiling for board Arduino/Genuino Uno”?
This one’s pretty common, and don’t worry—it doesn’t mean your board is fried. The “Error compiling for board Arduino/Genuino Uno” message usually means there’s either a bug in your code, a missing library, or an issue with your board settings in the Arduino IDE. First, double-check your code for typos. Then go to Tools → Board and make sure “Arduino Uno” is selected. If that doesn’t do it, try reinstalling the board manager or updating your IDE. It’s a bit of trial and error, but it’s totally fixable.
What is the Arduino Uno R3 board?
The Arduino Uno R3 is like the upgraded, more polished version of the original Uno. “R3” stands for “Revision 3,” and it comes with a few improvements—like extra SDA/SCL pins for I2C communication and better USB stability. If you’re buying a new board, the R3 is what you’ll most likely get—it’s become the standard because of its reliability and ease of use.
What is the clock speed of the Arduino Uno board?
The Arduino Uno board runs at a clock speed of 16 MHz. That might sound slow compared to your phone or laptop, but it’s more than enough for most microcontroller tasks—like reading sensors, blinking LEDs, or handling small calculations. It’s designed for reliability and simplicity, not speed. And hey, less speed means less power consumption too, which is great for battery-powered projects.