
 EGPT
EGPT
Table of Contents
In the Arduino world, there is no way that you if you are a beginner to ignore the importance of a good and stable power source. If you are just using Arduino sensor pressure or even if you are using some advanced subsystems such as Arduino color sensor, for this or that reason, you need to be very sure that your Arduino power supply is sufficient.
Due to instability in a poor power supply, there is a likely hood of getting erratic behavior, some of the components may not function and there is also a possibility of damaging your precious board. But wait – here comes the guide to the best Arduino power supply so that you would not have to experience such situations and your projects will run as smoothly as music. Although it may seem that using power supplies with Arduino is a quite trivial topic, we will look at some of the necessary gears and some tools that would help you with your Arduino basis in this article.
What should be understood about an Arduino Power Supply?
First of all, let me explain to you what you should understand about an Arduino power supply before I give you some advices. In simple terms, an Arduino power supply can be defined as the power supply required by your board and the connected circuit elements. At the heart of any project are circuits that supply power to the microcontroller; the sensors and other devices that animate the project. Lack of a stable power source will definitely hamper the proper functioning of your Arduino thus leave you frustrated when you realize that your project does not work as expected.
There are different sources of power supply for Arduino and the selected one depends on the kind of project in mind. Ranging from just a power supply through the USB connection to even powerful AC to DC adapter options are quite numerous. The question is, what is needed by your project in the form of voltage, current, and stability? But do not concern yourself with which we will discussing all these in detail.
From the above example we can deduce why an Arduino Power Supply is of importance hence the need to add a stabilizing circuit to the source.
Why is an Arduino Power Supply Important?
The term power supply can be said to be the life of any project. Just as a car needs petrol to move a distance, and a laptop needs rechargeable batteries to work, an Arduino also requires a power supply. Without it, the other system components like the sensors, motors, the different camera modules are not functional in the right manner. Here’s why it’s so important:
Voltage Stability: Your Arduino board must function on a particular voltage; it can be either 5V or 3.3V according to the model of your Arduino. If you vary the voltage, your components act erratically and this will cause such part such as the sensor pressure arduino to fail to work as expected.
Current Flow: As well as voltage, your Arduino also requires a certain amount of current to adequately supply all the components.
When consequently powering several devices, one should ensure that the power supply is able to deliver the current for all the devices, especially where one is combining integrated circuits like the Arduino that is coupled with camera module.
Safety: A poor power supply system is likely to cause damage on the Arduino board or the connected components, which may be very expensive to replace. In this case quality power supply will help you to protect your project against various risks and make it long lasting.
Tip 1: Choose the Right Voltage
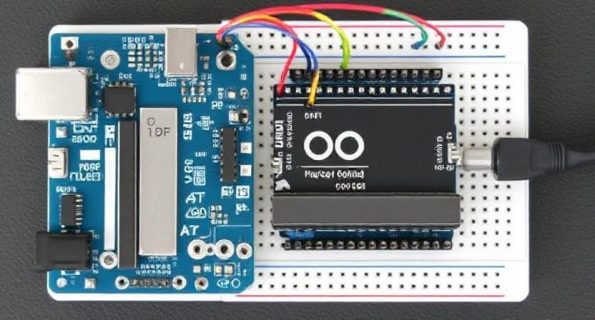
Before selecting the power supply for Arduino, you need to know the voltage to be supplied by the power supply to your circuit board and to each peripheral device that you are going to connect. It is crucial to identify that most Arduino boards are 5V while some models like the Arduino Due are 3.3V. In case you are incorporating additional parts such as sensors or motors into your circuit, make sure that their voltage requirement is as well. For instance, the Arduino color sensor operates at 5V; therefore, the power supply should be 5V as well.
Tip: Sometimes it is not clear, if your board accepts a certain voltage or not, then always consult the documentation or the board in question where it should state to which voltage the board can be connected.

Tip 2: Make sure that the power supply’s current rating is appropriate
Actually, current and voltage have equal value in the choice of power supply. In case your Arduino board is receiving low current, the board may be unable to supply current for all the other components. If you are adding extra devices like a sensor pressure arduino or a motor you will require an increased current source than the one used for the led.
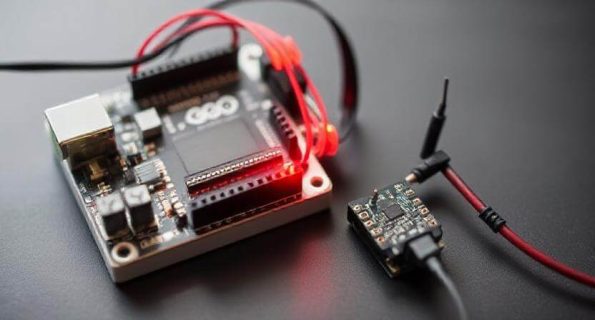
Example: For instance, you are using Arduino board with camera module in a project that requires live image capture. This will require a fairly large amount of current supply to work effectively and thus you have to ensure that your power supply has enough current supply your system will just lock up.
Tip 3 states that it is sometimes necessary to use a regulated power supply.
A regulated power supply is the one that stabilizes the voltage output regardless of any inconvenience in the voltage input. This is especially valuable for such projects where constant voltage is essential for the efficient functioning of particular equipment. If you are using arduino sensor pressure or/or you decide to connect more sensors to the circuit, having a stable voltage in the circuit aids to allowed your components offer the best form of their service.
Tip 4: Don’t forget to buy a battery as backup and ensure that it has enough power supply to support you throughout the whole day while operating the blender.
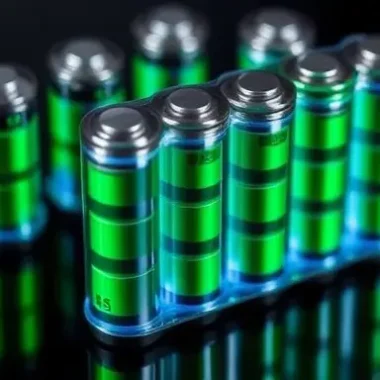
In this article, I will discuss about a battery operated power supply which can be used if the arduino board needs to be portable or if it needs to be operated without any connection to wall power source. Battery packs, including those composed of lithium-ion cells, can be used as a feasible and rechargeable power supply to Arduino circuits. All in all, one has to remember that voltage is not constant and decreases as the battery is discharging, so power should be controlled.
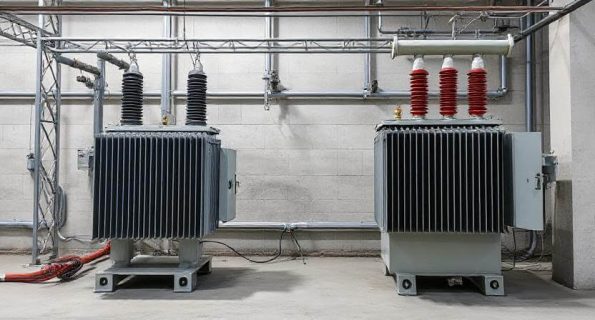
Tip 5: refers to power overload protection and means that you should ensure that the used voltage level does not lead to power overload which normally reduces the efficiency of the voltage transformers.
Arduino products come with different safeguards such as overload that helps to protect the components in case the current goes beyond the allowed limit. It is even more necessary when using several loads simultaneously – for example, with the Arduino with camera or mechanical motors.
Tip 6: Finally, an advanced technique is to use a Power Supply Shield for a complex project.
In some Arduino projects especially those that involve many and power demanding devices you need to add more power and this reduces by using a power supply shield. A power supply shield is mounted on any Arduino board and assists in regulating different aspects of power supply in the circuit. These are ideal for further stability in the project work like the multi-sensor system, the sensor pressure, Arduino and others.
The seventh tip is to test your power supply before using it for your project This is due to the fact that every device will have different power requirements.
It is always wise to engage in testing before proceeding to run your project. You do not want to short the Arduino board or any of the components by applying the wrong voltage or an insufficient current. You can also use a multimeter to verify the voltage of the power supply to conform your Arduino requirements.
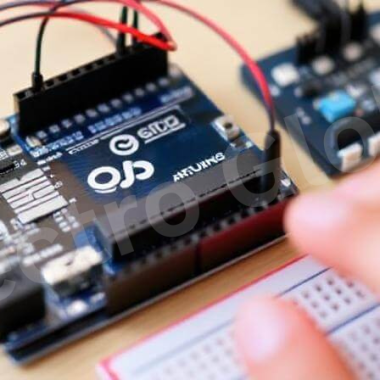
How Arduino Works: Understanding Power Management
However, most people are oblivious to how Arduino operates when they want to maximize their use of the power supply. Basically, Arduino is an integrated microcontroller with a particular voltage that processes various inputs such as pressure inputs or color inputs. From this information, the microcontroller is able to manipulate other aspects of the system such as motors or LEDs etc. Being able to grasp this flow will assist you to choose the right power supply to purchase for your system.
Conclusion: Choosing the Right Arduino Power Supply for Success
So in a broad sense, when selecting the Arduino power supply, all is about stability, efficiency, and safety of the project at its end. In any of the Arduino projects such as Arduino sensor pressure, Arduino color sensor or using an Arduino with camera module, it matters to read about a good power source. If you focus on voltage, current, and safety, your projects will be flawless in terms of power supply and will therefore not give you any hard time.
It is therefore very important to consider the above-discussed factors whenever selecting a power supply for your Arduino next project. Your future self (including your Arduino board) will be grateful to you for it!
Frequently Asked Questions: Arduino Power Supply
How much power supply is required for Arduino Uno?
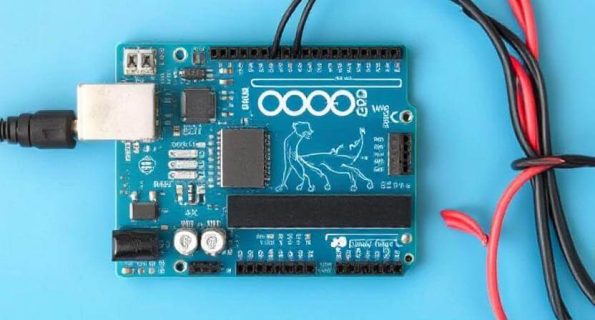
The Arduino Uno typically requires a voltage of 7–12V through the barrel jack or Vin pin. The recommended operating current is around 500mA or less, depending on connected peripherals.
How to connect power supply to Arduino?
You can power the Arduino Uno via the USB cable, the DC barrel jack (7–12V), or the Vin pin. Always ensure the voltage matches recommended limits to avoid damage.
How to give power supply to Arduino Uno?
Power can be supplied to Arduino Uno using a USB cable (5V), a 9V battery through the barrel jack, or an external adapter connected to the Vin and GND pins.
How to use Arduino as power supply?
You can use the Arduino’s 5V and 3.3V pins to power low-power external components like sensors. However, avoid drawing high current to prevent regulator damage.
Does Arduino need a power supply?
Yes, the Arduino needs a power supply to function. It can be powered through USB, a DC adapter, or external batteries depending on your project needs.
How to connect external power supply to Arduino?
To connect an external supply, use the barrel jack for 7–12V adapters or connect the positive terminal to Vin and the negative to GND on the Arduino.
How to give power supply to Arduino?
You can power the Arduino through USB, a 9V battery, or a wall adapter. Choose the source based on your project’s mobility and power needs.