
 EGPT
EGPT
Table of Contents
Introduction
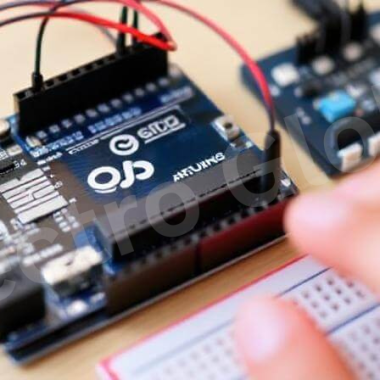
If you’ve had an exposure to arduino for any time now or have ever dreamt of going a step further with it you must have seen that it is possible for it to be used in a variety of forms. However, do you know that using combined with arduino with camera module opens up a whole new world in creating numerous projects? Whether you are developing a security and safety system or constructing a robot or anything that you want to have vision abilities or working with Arduino board and Camera Module becomes very easy and the mechanism has limitless applications.
In this particular writing, let’s focus on the 7 astonishing ways through which you can use Arduino with Camera Module. And that’s not all – you will be able to learn about Arduino power supply details, how Arduino color sensor operates, as well as such important elements as sensor pressure Arduino. The following are appropriate for all the amateur and master makers and can help to come up with new ideas in the Arduino settings.
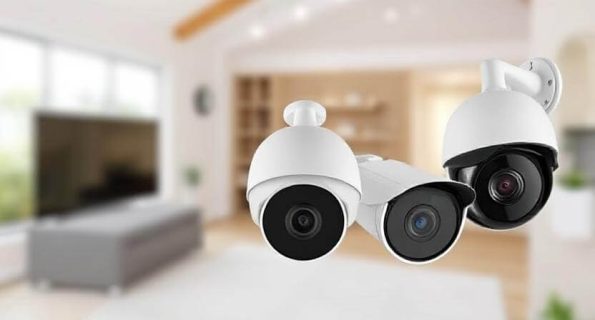
Basic Home Surveillance Camera System
Perhaps one of the most entertaining projects which can Arduinos with Camera Module is implementing a security camera. The specific ability of Arduino is that it is equipped with the camera module that can take a snapshot or record video stream that is useful for surveillance. You are able to choose motion detection, be alerted and save image all remotely.
To get started, you’ll need:
An Arduino board and other kinds of Arduino boards such as Arduino Uno, Arduino Nano etc.
A camera module (like the OV7670)
An electricity source to ensure that all the operation process runs without hitches
Such a system could be as straightforward as forwarding any captured images to the phone or the email whenever movement is identified. If you wish to add an extra layer of operation, the pressure sensor Arduino can be used to sense whether the door or window is open.
Pro Tip: One of the aspects which are most vital when selecting the power supply to the Arduino is to have an efficient setup to guarantee your camera system will run smoothly.

Object Detection for Robots
Have you ever wished for your device to be able to “perceive” the physical world in which it is located? Well, with Arduino having a built-in Camera Module, object detection is made possible and this is very helpful in creating robots. With the use of the appropriate software which integrated with hardware in Arduino, it is then possible to be able to capture images and use the algorithm to detect an object or to avoid a particular obstacle or even follow a particular path.
Before you start this project, you will require:
Arduino board (It is preferred if the Arduino being used will have higher memory as in the case of the Arduino Mega).
Camera module
Image processing library (like OpenCV for Arduino)
Motors for movement
You should connect the camera with the Arduino color sensor to enable the robot to capture a particular color that can help in targeting objects of interest. Suppose there is a player that will have the ability to categorize items based on colors or follow the line of a given color—what a wonderful invention!
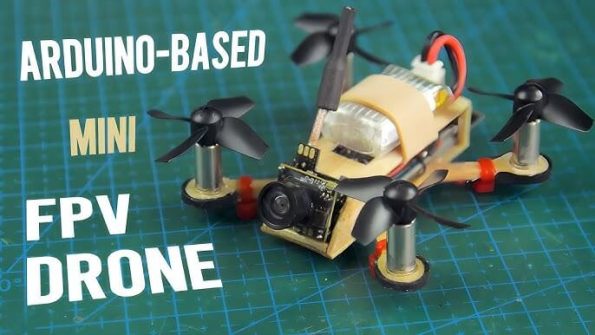
Surveillance Drone with Arduino
You can also use the Arduino with the Camera Module for personal surveillance drones in case you have interest in drones. This makes it possible for you to maneuver the drone while capturing real-time videos from the camera installed on it. You could even add live processing so as to follow up on the objects or certain zones.
In this setup, consider using:
Using Arduino with Camera Module for video streaming
A sensor pressure Arduino for altitude detection
A GPS module for location tracking
By so doing, you could program the drone to fly over a certain area and stream the footage to your mobile or computer in real time. This one creates the feeling of having your own drone surveillance without spending so much money.
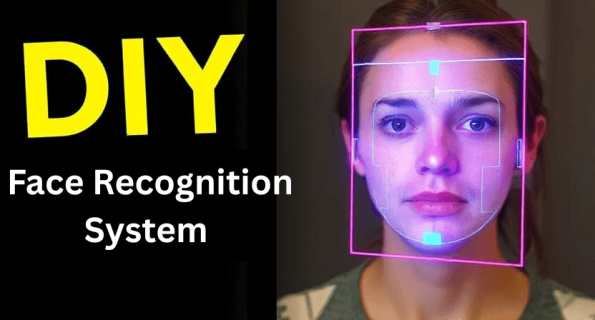
DIY Face Recognition System
We are not limited to seeing face recognition depicted in movies and other science fiction movies. Facial recognition at home can also be implemented by connecting an Arduino with Camera Module. This could be an excellent way of knowing much more on computer vision and image processing in general or AI.
You’ll need:
A face capturing camera module
Arduino Uno or Arduino Mega (More power is required for image processing and for this reason we require more processor units).
Sangkuk has installed an SD card module which will be used in storing face data.
In a case where the necessary software libraries are installed, the particular Arduino would be capable of analyzing the acquired images to distinguish faces and further store the images in a database for the purpose of recognition at a second instance in future. This can be done for security systems, own projects or simply for the joy of it.
Extra Feature: Adding an Arduino color sensor will enable the recognition of the users from how they are dressed or any other aspect.
Real-Time Video Streaming for Web Applications
The use of Arduino with Camera Module is a good way to get live video feed into a web application if you have thought about it one time or the other. This project deals with the streaming of video data to your arduino board to a server where the video may be retrieved by a web browsers or a mobile device.
The setup typically includes:
Arduino with Camera Module for video capture

Analyze the fact that it uses a Wi-Fi module (for example, ESP8266 or ESP32) for network connectivity.
This is a basic web server that can be implemented on an Arduino.
It could be exciting to be able to broadcast live video feed through a mobile application or a personal computer of your backyard. Pretty cool, right? It is even quite possible to connect the sensor pressure Arduino to begin streaming based on the occurrence of other environment changes such as rain or movement.
Smart Home Surveillance with AI
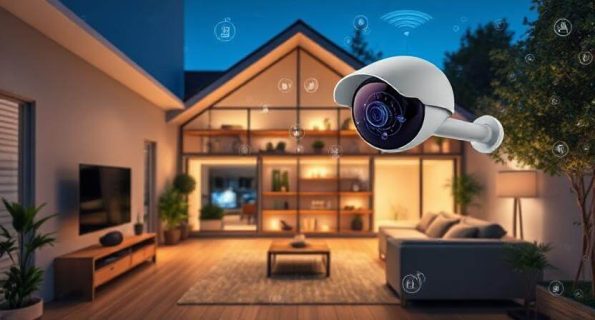
Connect Arduino to your smart home and enjoy its new level of functionality, for instance, use it together with the Camera Module to identify the face of a person or even their movements. Imagine a door that recognizes who stands in front of it and at the same time, recognizes movements of this person. It is also possible to instruct your Arduino to process the video feed using such algorithms and perform such operations as switching on the light, opening doors, or alerting the owner.
Here’s how to build it:
The next feature will be installing a camera module on the arduino so as to capture the feed.
Use of Artificial intelligence algorithms which has to be attached on a different device to decode it.
Arduino power source to make sure that the system is always executing functions power supply
This one makes home smarter and safer for everyone in the house through utilizing the image processing part for everyday use.
This paper discusses the use of Arduino as a platform for Augmented Reality (AR) applications.
Last but not the least, have you ever wondered using Arduino with Camera Module to develop augmented reality? AR can be defined as the integration of the actual environment and some imaginary objects or characters, and with Arduino, it is quite possible.
You could:
Using the camera, identify a particular marker within the real environment of the game.
Some of the uses of augmented reality comprises of putting virtual objects or information on an actual environment.
It would be possible to regulate some of the virtual components with the hardware features such as pressure sensor arduino or color sensor arduino.
In an AR game or an educational app, the camera could prompt information in the real-life objects and display it on your screen. It is also an effective remedy in terms of having fun whilst toying with technology and coming up with different concepts.
Conclusion
Some of the few uses of Arduino with Camera Module include simple security cameras and photography to complex robots and applications in augmented reality. Whether you are into drones, AI surveillance systems or object detection, Arduino embodies all those aspects to help you bring all these concepts to life.
Do not disregard the fact that a stable and efficient powering of the Arduini is required to support your projects. If you are using specific sensors that include the Arduino color sensor or the sensor pressure Arduino among others, the difference will be seen if your Arduino is well powered. What you need to always remember is that the real potential of Arduino is realized by how you integrate all these modules and by coming up with a new and unique idea.
Frequently Asked Questions
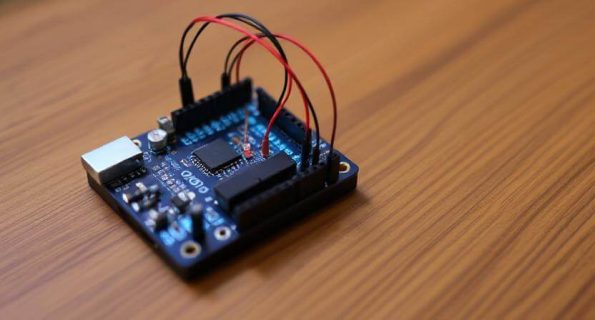
How to use a camera module with Arduino?
Using a camera module with an Arduino is a fun project! Start by choosing the right camera module for your needs. For example, the OV7670 is a popular choice. You’ll need to wire it correctly to the Arduino board, using the I2C or parallel interface, depending on the model. After that, you’ll write a simple sketch to capture images or video data. The Arduino will control the camera, and you can store or transmit the data to a display or SD card. Keep in mind, the Arduino’s memory is limited, so for complex projects, you might need an additional storage option like an SD card shield!
How to use OV7670 camera module with Arduino?
The OV7670 is a cool camera module to use with Arduino! It’s an affordable option, but you’ll need to connect it properly since it has multiple pins for data, control, and power. Use the I2C or parallel communication interface depending on the version you choose. Make sure to connect the right pins to your Arduino (like SDA and SCL for I2C) and write a program to interface with the camera. If you’re just starting out, you may need an external power supply since the OV7670 requires more power than what the Arduino can supply. Once connected, you can capture image data and send it to your display or SD card. The coding part can be tricky, so take your time and check out online tutorials!
How to interface a camera module with Arduino?
To interface a camera module with Arduino, you’ll need to choose the right module based on your project needs. Many camera modules, like the OV7670 or the ArduCam, can be used with Arduino. First, wire the module to your Arduino using the appropriate pins for communication (I2C or SPI). Once everything’s connected, you’ll need to install any necessary libraries for the module. Then, write a sketch to capture image data. Keep in mind, Arduino has limited processing power, so this setup works best for simpler tasks like still image capture or basic video feed!
How to connect a camera with Arduino and Bluetooth module?
Connecting a camera with an Arduino and a Bluetooth module is a great way to make your projects wireless! First, connect the camera module (like the OV7670 or ArduCam) to your Arduino, as we discussed in previous questions. Next, you’ll need to connect the Bluetooth module (like the HC-05 or HC-06) to the Arduino, using the appropriate serial pins. The Bluetooth module will allow you to wirelessly send captured images or video data to a phone or another Bluetooth-enabled device. You can use a mobile app or custom software to view the data. The Arduino will handle the camera commands and the Bluetooth will handle the communication, allowing for a simple wireless system to control your camera remotely!