
 EGPT
EGPTTable of Contents
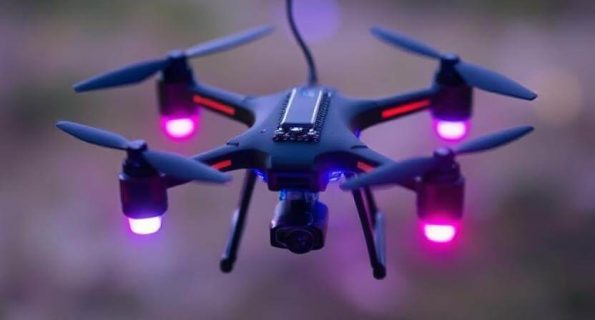
Introduction: Why Arduino Drones Are a Game-Changer
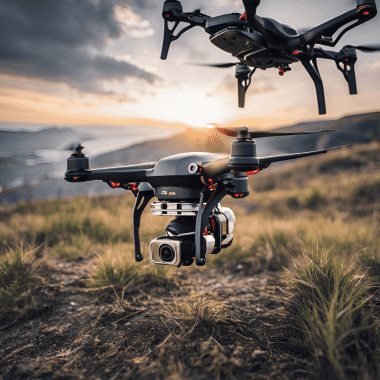
For those people being interested in DIY robotics or just technology in general, there is nothing new about Arduino drone. These compact, low-cost, and highly flexible machines are quickly becoming the rage of robotics in the modern world. Whether for recreational, research or commercial use of drones, this drone is the ultimate for flying and with Arduino power supply and sensor pressure Arduino features it is efficient.
In this blog, we will explain how Arduino drones work, what new features they introduce to the table, and why you should think of using it in the future robotic project you are working on. Ready to unlock your creativity? Let’s take off!
What Is an Arduino Drone?
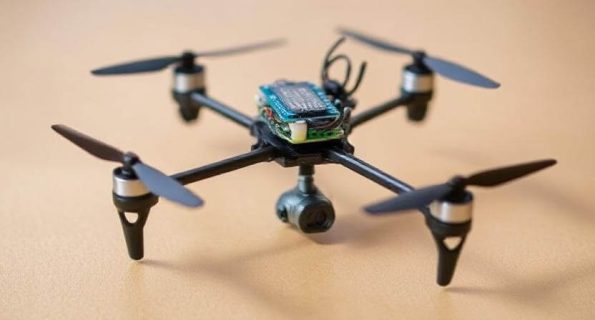
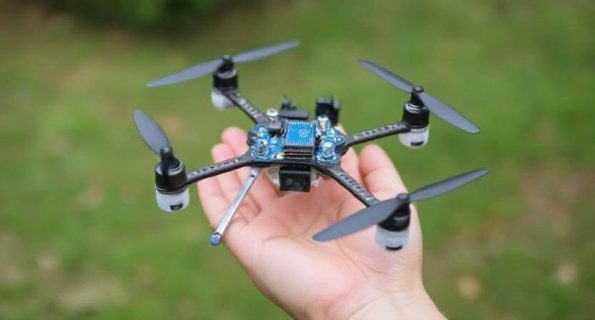
First, however, lets try to define what actually the Arduino drone stands for Essentially, one can term it as an unmanned aerial vehicle controlled by an board arduino uno, most preferably the Arduino Uno. As for objects, they are equipped with sensors, motors and the possibility to exchange data with the use of microcontroller being on the board. This configuration provides flexibility as the user is able to program the drone to perform several tasks including flying on its own or as a way of monitoring an environment with the help of the sensors fixed on the drone.
But wait—why Arduino? Simple. It is an open source and considered quite simple to program and use, yet it is packed with a number of features and great flexibility. When you add that to the versatility of adapting hardware and software, it is just evident as to why many people in robotics prefer to use Arduino drones in aerial related projects.
The Key Features of Arduino Drones
Since we have defined what an Arduino drone is, we can now turn our attention towards some of these attributes. It is about that to ask why these drones are so appealing for both high and the low that has been used in aerial photography and videography? Let’s break it down.
1. Arduino Power Supply for Reliable Performance
Overall, current Arduino drones need reliable and efficient power source to supply the whole functionality of the equipment. In construction of a drone using the Arduino board, it is important to have a proper system of power supply to ensure the motors and sensors are fully functional. The power supply of Arduino makes it possible to regulate the amount of power that your drone’s onboard systems need for the proper functioning without any risks of failure.
Conversely, instability or fluctuations in the power source leads to instabilities in the rotary wing in terms of erratic flight or unexpected shutdowns. Unluckily, for the safety of your Arduino drones, it is hard to decide the suitable power supply source which could be battery pack power, USB power, and other power as per your project.
2. Advanced Sensor Integration: Sensor Pressure Arduino
To advance your Arduino drone, the next step is to add some goodness of sensor technology into the drone. The last type of sensor which is often used in Arduino drones is the sensor pressure Arduino. These enables the drone to determine heights, sense obstacles and also maintain balance in different state of environments.
The sensor pressure Arduino feature is crucial when a drone is to be flown under various weather conditions or in a particular region. Originally, this particular reading can be used to set up an appropriate flight altitude and prevent crashes at the same time.
3. Customizability with Arduino Board Integration
This is a convenient platform for work if you have faced with Arduino Uno as you can work with it using several variants. The same is also in drones calibrated with Arduino. When using the Arduino board at the control center of the drone, it means that its functionality can be altered, sensors can be added, its plan of flight modified and even software can be changed exactly to meet the particular requirement.
Regardless if it is for following a given trajectory or doing some aerial photography or even performing inspection missions the Arduino board enables all these kinds of operations to be performed easily. Such level of flexibility ensures that Arduino drones are ideal for those who want to explore and gain more knowledge on robots and automation.
4. Easy Programming with Arduino Uno
When it comes to the Arduino Uno, one of the most attractive and advantageous features does relate to its programming capabilities. Unlike other microcontroller platforms that are hard to handle and requires some good understanding of hardware and software development, Arduino uno is very easy to deal with, thanks to use of a simple IDE.
This is good news to the learners and new comers in the business world. As for the Arduino Uno about features and lots of tutorials which can be found, you will quickly get your own arduino drone. If you are just making a drone that flies in a non-complex manner or if you want to build sophisticated algorithms for the drone flight, Arduino Uno is quite versatile in terms of capabilities and development process.
5. Affordability and Accessibility
In this case, the reader can establish a fact that Arduino drones are cheaper than many commercial drones with similar characteristics. With Arduino Uno for your drone, it is cheap to assemble most of the parts like motors, sensors, flight controllers, power supply, and even constructing the sleek physique of the drone than purchasing it ready-made.
This affordability makes it easy for the student, the hobbyist or any other enthusiastic about taking and flying drones without necessarily having to accumulate a heave amount of resources.
How to Build Your Own Arduino Drone
Surprisingly, it is quite simple to build your drone using the arduino board and it doesn’t require prior knowledge of drones and robotics. Here is the approach to try in case you have no idea how to begin the process:
Step 1: Gather Your Materials
So let’s begin the process of building an Arduino drone and for this, you will require:
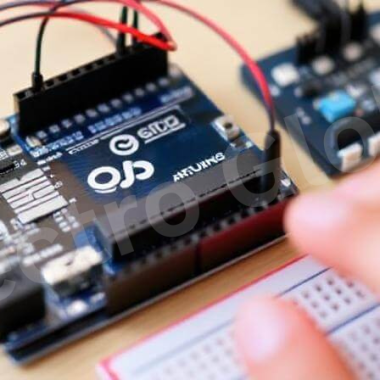
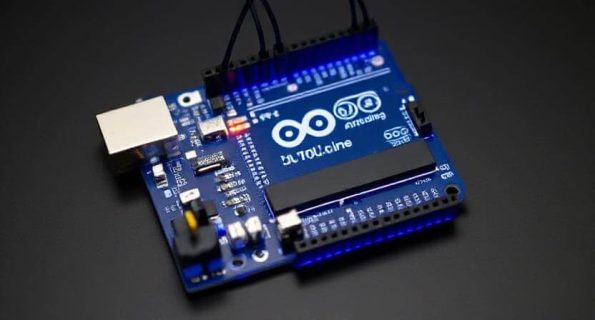
Arduino Uno board
Motors and motor drivers
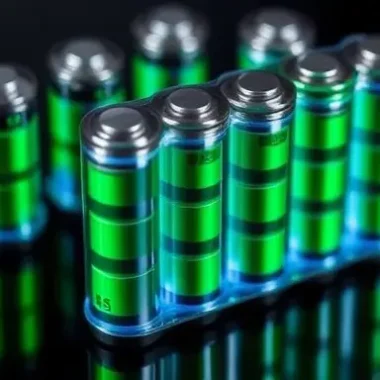
Arduino power supply (battery pack or similar)
Sensor pressure Arduino (for altitude control)
ESC (Electronic Speed Controllers)
Propellers
Frame for the drone
Flight controller (optional, but recommended)
Step 2: Assemble the Drone Frame
The first task in constructing your Arduino drone is to connect the body of the drone. The frame is often bought ready-made, although it can be crafted from lightweight material such as a plastic or carbon fiber. When the frame is set correctly, it is time to install the motors on each corner to have steady flying.
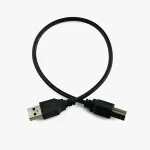
Thirdly: Establishing power connection between the Motors and the Power supply
The next step is screw the motors to the motor drivers and ensure that the circuits are powered by the Arduino power supply. This will suffice your purpose of ensuring that your drone gets the energy that it requires to operate effectively. Before that, it is also advisable to reconnect all the wiring system to avoid anything being wrongly connected.
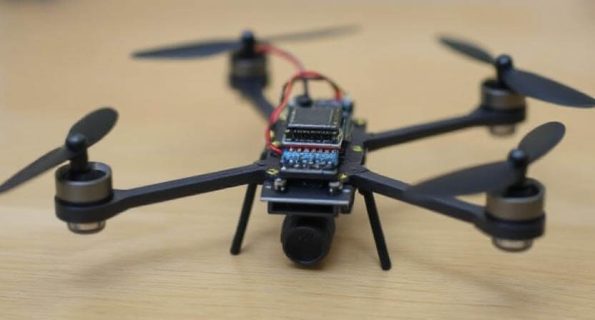
Step 4: Connect Sensor Pressure Arduino(schema appear below):
It is now time to interface the sensor pressure Arduino so let’s proceed with the instructions below. This will enable your drone to have altitude and hence correct its path when it is flying. Indeed, the pressure sensors which are available on the market today can be easily connected with Arduino Uno board and used in your projects.

Step 5: Program the Arduino Uno
It is now time to introduce the Arduino Uno to programming once the hardware is in place. You will need to develop code that will determine its flying direction to and from the pressure input by the Arduino sensor and the drone’s power source. It is rather easy to do using the Arduino IDE and there are many tutorials online to help one through the process.
Step 6: Test and Tweak
Before all is said and done, preparation and programming have to be done before the new set can actually be tested through a trial flight. Perform the familiarization with the flight of the drone in an open area, as well as check some basic manipulations with it. This is the normal practice when using these types of drones in that you may have to make slight modifications to the code or the hardware to fine-tune the infrastructure required by the drone.
Why Choose an Arduino Drone Over Commercial Drones?
Enumerated below are several reasons why one may opt to build an Arduino drone as opposed to using one that is readily available in the market:
1. Customization: Arduino drones are not prepared in any specific manner different from what you want them to be because programming, and the kind of sensors to integrate are down to you. It means that one does not need to have deep knowledge and experience in working with casts to do tests and gain experience.
2.Cost effective: With the help of the BOM, arduino drone can be made at a much cheaper price than that of commercial ones.
3.Educational Value: There is so much learning involved when one is carrying out the process of constructing an Arduino drone from an essential device from nothing at all as seen here.
4: The Societal backing: The Arduion platform is enjoyed by millions of users, and there are many forums, tutorials and support groups available from which you can learn as you build your drone.
Conclusion: Ready to Build Your Own Arduino Drone?
This brief article has shown you how versatile and programmable Arduino drones are and now it is the best time to start your own project. In knowing the power supply of arduino up to developing of the arduino sensor pressure for the altitude control, all that which has just been outlined are what make it possible for anybody to develop the drone of the kind they want.
The information you will find below will be useful no matter if you are building your first drone or the last one on your tenth – the Arduino Uno board is a great starting point. So, what are you waiting for? So get your supplies ready and begin constructing your dream house at the present time.
Frequently Asked Questions
How to make drone Arduino?
To make drone Arduino, you’ll need an Arduino board, brushless motors, ESCs, a flight controller like MPU6050, propellers, a power source, and a frame. You’ll write code to stabilize and control the drone using the Arduino IDE.
How to build a drone with Arduino?
To build a drone with Arduino, connect all hardware components including the Arduino Uno, gyroscope sensor, and motor driver. Upload control algorithms to the Arduino and calibrate the sensors to ensure stable flight.
How to make a drone using Arduino Uno?
To make a drone using Arduino Uno, you’ll use the Uno board to read sensor data and control the motors. Use an MPU6050 for flight stabilization, and program everything using Arduino IDE to handle altitude and orientation.
How to make a drone with Arduino?
To make a drone with Arduino, gather components like the Arduino board, IMU sensor, motors, ESCs, and a frame. Use Arduino code to manage stabilization, throttle, yaw, and direction controls.
How to make Arduino Uno drone?
To make Arduino Uno drone, combine the Uno with motor drivers, sensors like the MPU6050, and a power system. Code the logic for flight control, and ensure ESC calibration is done properly for smooth motor operation.
How to control a drone with Arduino?
You can control a drone with Arduino by writing custom code to process sensor data and generate PWM signals for the motors. Use wireless modules like NRF24L01 or Bluetooth to send commands from a remote controller.