
 EGPT
EGPT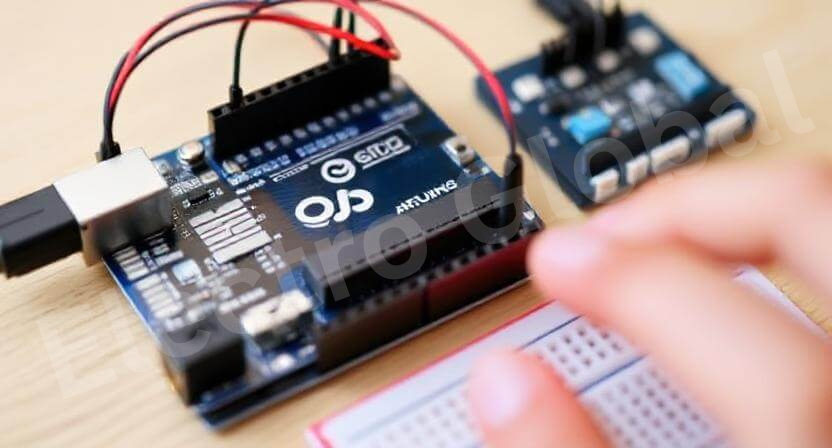
Table of Contents
The Arduino name alone brings sparkle to lovers of making and developing and others who are amused at tinkering. If you are new to the world of microcontroller projects, or are a seasoned veteran of the micro-controller scene, knowing how Arduino works is a definite plus to success. In this blog, we will simplify Arduino by showing the basic and advanced Arduino functions in this way, such that even if you are new to the world of electronics, you learn something from here.
Some questions that may come to your mind may include, “What does Arduino do?” or “How can I integrate it into my projects?” Stay with us and in the end, you shall learn how to employ Arduino in your artistry. Let’s jump into it!
What Is Arduino?
To start with, it will be necessary to find out what Arduino in fact is, before considering how it works. Arduino is an open-source electronics system composed of both software and hardware architectures. It has reusable architecture and is just as applicable to inexperienced builders as it is to experienced ones in order to produce interactive objects or environments.
But wait—why Arduino? Simple. This Arduino Board is famous for being open-source, easy to use and highly flexible. When you add this to the flexibility of individualizing the equipment’s and programs, it would only be reasonable for a lot of robotics lovers to prefer and use Arduino drones for their flying projects.
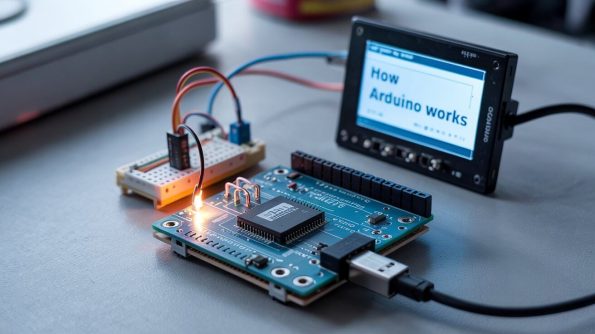
How Arduino Works: The Basics
Arduino is actually a product of two forms which includes the board (hardware) and the language ( software). Let’s break it down further:
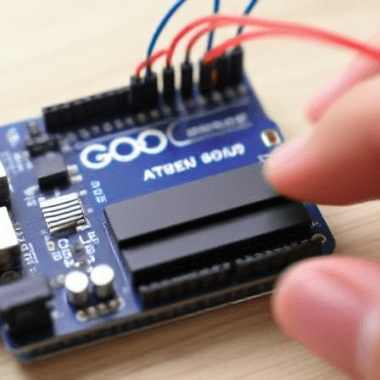
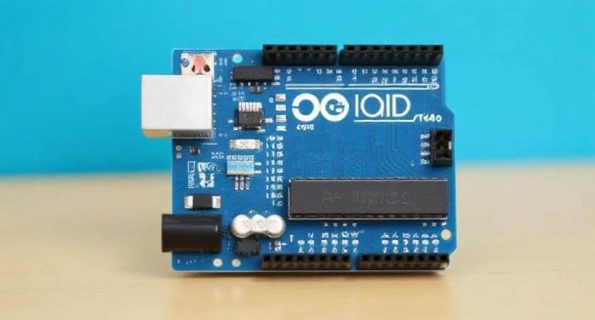
Arduino Board: This is the physical part of arduino (board arduino uno) on which you will be working upon. It has a microcontroller for it is a minicomputer that can be controlled and operated to do specific activities. It can be considered as the intellectual part or the commanding center of a project.
Arduino IDE: Integrated Development Environment also known as IDEA is the software where you shall write your code in. This is rather simple to do in the Arduino IDE, which is an application that makes it easy to transfer code to the board. You will write brief procedures called sketches in the C++ programming language.
How Arduino Works in Practice: A Simple Example
Suppose one needs to switch on an LED with the help of Arduino technology. Here’s how the magic happens:
Brief: The first sketch is to make the Arduino turn on the LED on for a second and turn it off for a second and repating this process continuously.
Load: After coding is completed, one can download it to the Arduino board in question through the Universal Serial Bus cable.
Execution: Software implemented on the board is similar to ones implemented on any microcontroller; the code is run and the instructions are performed. The LED has to be controlled in a way that allows it to blink as you program it to be.
In this case, Arduino acts in the capacity of the controller. All that you are doing is briefing it with the instruction you are writing on the code and it executes and obeys you.
Advanced Arduino Projects: Taking It Further
Having an overview of how Arduino operates, we are now going to learn some of the cool projects that can be built using the equipment as soon as one masters its uses. What distinguishes Arduino is that with all of these tools, you are only limited by your imagination. Here are some projects briefs that will encourage you:
Arduino Color Sensor: Having the capability to create a color-sensing gadget is interesting? An Arduino color sensor enables you to build a project using the Arduino that responds to different colors, for instance, in the example above the Arduino turns on a light when it gets a signal of red color.

Sensor Pressure Arduino: For instance, if the project you want to start is more elaborate, then there are always the options of adding sensors. An Arduino based pressure sensor project can be to use a pressure sensor to sense the air pressure and display this information in real time for a weather station or scientific purpose.
Arduino with Camera Module: Incorporate Arduino with the camera module for an application such as surveillance. When you attach the camera module to your Arduino, you can capture photo or video for purposes in security or monitoring.
Benefits of Using Arduino in Your Projects
Thus, Arduino can be helpful in your next project in the following ways: Here are several motivating facts:
Affordability: Arduino is very cheap regardless of its functions and capabilities compared to other similar technologies. However, what’s worth to know is that you do not have to spend a lot of money in order to build rather complex projects.
Community Support: Arduino is not slow in producing support for its users; it has a large community of users who are always willing to help. The community is very large, and one can always find additional tutorials, code samples or tips on the Net. It is quite common that if there is a problem in your computer, someone has encountered the same problem somewhere else.
Easy to Use: The fact that Arduino is well-suited for organizers and is highly advices for the beginner also makes it accurate. For anyone who wishes to learn how Arduino works for the first time or even developed the skills prior, the gradient is not very steep.
Not just a hobby tool: Arduino can be used in any scale of projects. It is used by engineers, artists and educators among other. Not only it can create smart home devices, but also enigmatic and educational tools, all by itself.
Troubleshooting Common Arduino Problems
Like any other project, Arduino has experienced some issues; however, they have formed part of its success because each project has its challenges that make it a success story. Below are some of the hurdles that you are likely to encounter when doing descriptive research and the solutions to them:

Problem: Code Doesn’t Upload
Solution: Check the heading in the Arduino IDE that you have properly chosen the correct board and port. At other times, it can be just cleared by simply exiting the IDE or, at most, disconnecting and reconnecting the USB cable.
Problem: LED Won’t Light Up
Solution: Be careful with the wiring; ensure that you have placed the LED to the correct pin of the Arduino board. Also, ensure that your code is coded in a way that it transmits the correct signals.
Problem: Arduino is Unresponsive
As a result it may be as a result of an improper or malfunctioned program. Please, try uploading a new, elementary sketch such as “Blink” to check whether the problem lies in this type of models.
Conclusion: I believe that at this point you are ready to employ the described analytic approaches.
Based on the information gained in the previous section, as Arduino is based on these principles, let’s try to create something. Regardless of whether one chooses to simply develop a blinking LED circuit or creating a sensor circuit or develop a robot ,Duino is the tool that will bring out the idea in existence.
The following are the flexibilities that are enjoyed by the Arduino; It is important to do, discover and embrace. Of course, one should always remember that this is truly a process of starting and the most effective form of learning is the actual implementation, so go ahead and start building now.
Frequently Asked Questions
How does an Arduino board work?
Great question! An Arduino board works by using a microcontroller (basically a small computer on a chip) that interacts with the physical world through inputs (like sensors) and outputs (like motors or LEDs). You write code (called sketches) on your computer, upload it to the Arduino, and voilà—your Arduino does your bidding! It’s like giving instructions to a tiny robot.
How does Arduino work for beginners?
If you’re just starting out, Arduino is pretty user-friendly! You’ll connect an Arduino board to your computer, write some code in the Arduino IDE (the software you use to communicate with the board), and upload it. Then, your board will do whatever you’ve told it to do—whether it’s flashing an LED or reading sensor data. No need to worry about complex electronics, Arduino is designed for beginners!
What is the basic working of Arduino?
At its core, Arduino is all about sending and receiving electrical signals. You give it instructions in code (using a language called C++), and it controls physical components like sensors, motors, or LEDs based on those instructions. It’s like the brain of a project, deciding what to do based on the inputs it gets and how you’ve programmed it!
How does Arduino communicate with sensors?
Arduino communicates with sensors using electrical signals. When you connect a sensor (like a temperature sensor or a motion detector) to the Arduino, it sends data in the form of electrical signals to the board. Then, the Arduino processes this data according to your code and can take action—like turning on a fan when the temperature gets too high or lighting up an LED when motion is detected.
How does an Arduino work with motors?
To get an Arduino to work with motors, you’ll need a motor driver, which acts as a bridge between the Arduino and the motor. The Arduino sends control signals to the motor driver, telling the motor how fast to spin, which direction to go, or when to stop. Think of it as giving your motor a set of instructions that it follows!
How do Arduino boards control LEDs?
Controlling LEDs with Arduino is super easy! You simply send a signal from one of the board’s pins, turning it on or off. You can even dim LEDs by adjusting the signal strength (using something called PWM—pulse-width modulation). Whether you want to make a simple blinking light or create complex lighting effects, Arduino has you covered!