
 EGPT
EGPT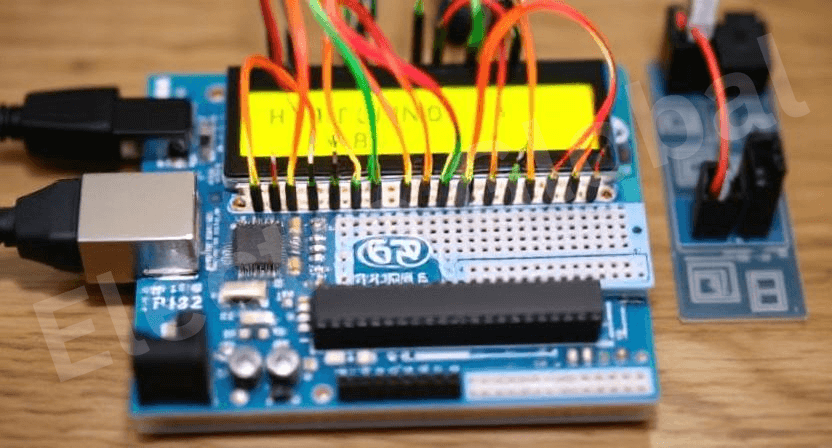
Table of Contents
Introduction: The Power of the Microcontroller in Arduino Uno
If there is one topic that most Arduino Uno beginners have come across, that would be the microcontroller of Arduino Uno Board, but do they understand what it is and its role? Sometimes, it may be really hard to find the appropriate music to accompany a certain poem you want to relate to your listeners; If you can’t find one, don’t fret; you are not alone! Arduino uno has been accustomed to be the favorite board for most hobbyist and professional, all this owing to the power that resides within that small microcontroller.
In this particular piece, we will be giving more elaboration to the Arduino Uno with special emphasis in the microcontroller. At the end of this article, however, you will find out why this board deserves all the hype and why it is the go-to board for most learners.
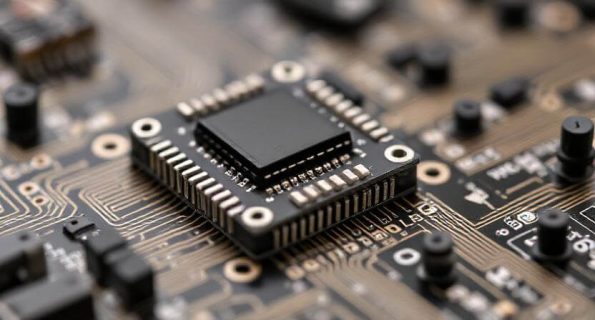
What Is the Microcontroller in Arduino Uno?
This may be a good time to explain some basics about it I comprehended the importance of its rudiments while I typed the heading. The ‘central processing unit’ of the Arduino uno board is the microcontroller chip; this processes all the data which you want the board to accomplish from the code written by you. This little piece of silicon has enough intelligence to run lights, motors, sensors as well as any other gadget that you might think of in an electronics venture.
As soon as you come across the term Arduino Uno means, let your mind associate it with this one, an open-source board that is based on this microcontroller to transform your ideas into reality. Indeed, with the microcontroller, it is possible to achieve a simple LED blink to complex systems operations.

How Does the Microcontroller in Arduino Uno Work?
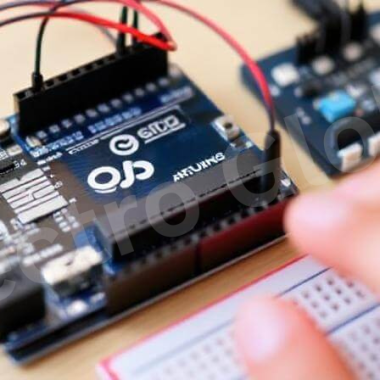
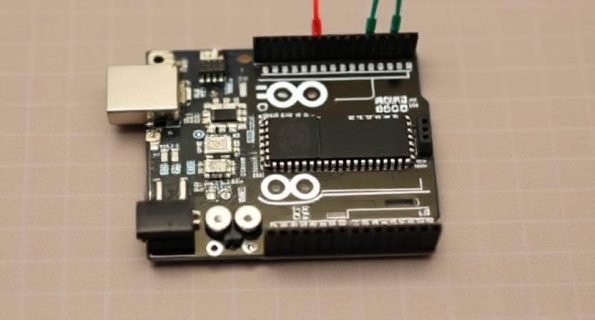
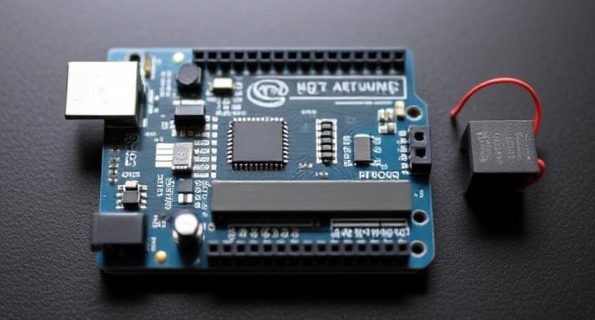
The Arduino Uno is governed by ATmega328P microcontroller, it is preferred by many Arduino users because of its efficiency and capabilities. This chip is the actual small circuit board at the center of the board and it interacts with other circuit components that are consequently connected to the board, working according to the code you input through the Arduino IDE.
When you upload your program to the Arduino Uno, the microcontroller will begin to execute your code, read inputs for instance from the sensors and issue out commands such as turning on an LED or a motor. It is like waving a baton and coordinating all the components of a system to achieve a desirable goal.
The Key Features of the Arduino Uno
Now that we have understood the operation of the microcontroller of Arduino uno, it is high time we unveiled some of the amazing features of this board. Such components make the Arduino Uno a very usable and versatile board when it comes to developing projects.
1. Versatility with Digital and Analog Pins
It has as many as 20 LCD input/output pins, which makes the device highly versatile when it comes to its connections. It has 14 digital pins and 6 analog pins, which makes it very flexible, as an accessory. The digital pins come in two types, the input and output which can only operate in high or low data range, while analog are used to read signals in different voltage which is well appropriate in use of sensors.
2. Easy to Program via Arduino IDE
Notably, this makes the use of the Arduino Uno features easy even if one does not have a technical background in computer programming. They include compatibility with the Arduino IDE; the easy to use tool that allows one to code without any kind of programming knowledge. It is easy to write, upload, and test the code in the software within the shortest time possible.
3. Built-In USB Connection
The Arduino Uno R3 has an on-board USB interface chip thereby making it convenient for the board to interface with a computer. This is used not only for code upload but as a source of power when testing the board also.

4. Affordable and Widely Available
In terms of cost, the Arduino Uno is relatively cheap among all the microcontroller boards in the market. This is one of the major factors for this kind of value proposition: the price depends on the experience level; however, even for the most inexpensive of projects, HeroProof will cost slightly more, but will provide much more value in return. In addition, precisely because of its popularity, you can easily find a lot of information, instructions, and tips online.
5. Open-Source and Community Driven
Unfortunately the Arduino Uno platform development is also open source; this means that anybody can make a contribution. This has resulted in the presence of various making makers, engineers and hobbyists who share their ideas and projects as well as codes. If, at any one time, you face any difficulty, I can assure you that someone must have provided a solution before.
Why the Microcontroller in Arduino Uno is More Suited for Beginner Developers
If you are just beginning with electronics you will not go wrong with the microcontroller present in the Arduino Uno. It’s very easy to use which explain the reason why it is well equipped with many guides that can help to get the new person started. However, do not let this make you believe that it is only good to use by novices in electronics because it is actually good to use even for the professional users because of the power of the Arduino Uno microcontroller.
For the beginner electronics enthusiasts, the Arduino Uno R3 offers the basic functionality and ease to address sensors, motors, and display devices among others. No matter if you’re brewing an automatic plant irrigation or a smart home endeavor, this microcontroller will come handy.
Common Applications for the Microcontroller in Arduino Uno

Arduino Uno uses a microcontroller and is implemented in various sectors of applications. Below are some of the common ideas that you can produce with it:
1.Home Automation Systems: This project aims at manipulating your home appliances such as lights, doors and other gadgets with help of Arduino Uno and sensors.
2.Projects of Robotics: Control a robot using the Arduino Uno microcontroller; the robot may follow lines or may have vision.
3.Weather Stations: This activity involves building a weather station to measure temperature, humidity and many others with the aid of necessary sensors.
4.Interactive Art: it entails developing interactive installations which are capable of responding to movement or color with the use of Arduino Uno and sensors.
5. Wearable Technology: Come up with wearable gadgets; we all know devices that record health signs such as heart rate, temperature using the potentials of Arduino Uno.��
Advanced Uses of the Arduino Uno Microcontroller
After going through these, you can opt for the next level of applications in relation to these foundations. For example, the company encourages people to connect Arduino Uno with another communication module such as Bluetooth or a Wi-Fi module to control their projects remotely. There are also possibilities of adding more complex sensors; you can also use several Arduino boards where these boards can communicate with each other.
If dealing with the Arduino Uno R3 and acquiring the necessary knowledge, projects are no longer mere gadgets but a system that can have solutions to complex issue of the society.
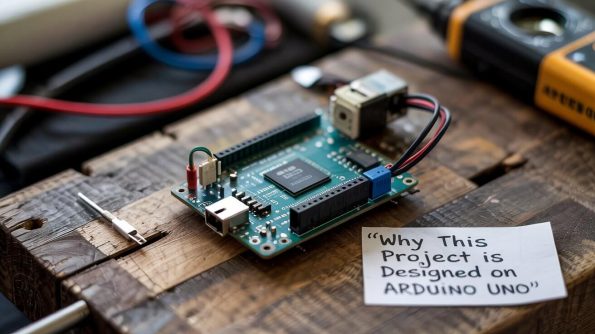
Why This Project is Designed on Arduino Uno Rather than Other Microcontroller Boards?
There are several reasons why the Arduino Uno can be considered advantageous. Firstly, it’s incredibly user-friendly. For anyone who has used other forms of microcontrollers, the Arduino Uno R3 can be used without much hassle. While the IDE is simple, there is an immense amount of information available online about how to fix problems and learn the programming language.
The fourth reason, which is the most important one, is the cost at which avai lable Arduino Uno is offered at: It only costs a few dollars to start on the basics of electronics and makes it perfect for people who are just starting their experiences with electronics.
Conclusion: Embrace the Power of the Microcontroller in Arduino Uno
You should now know more about the microcontroller of Arduino Uno as well as its importance to anyone wanting to learn more about electronics. Some of the Arduino Uno features which makes it to be among the best Board for those who have the interest in electronics go into PCB and programming includes the following.
In any case, your project may be your first one or more developed, the Arduino Uno microcontroller will be useful and universal for implementing your ideas. Ready to get started? Don’t forget to unleash your creativity and be the master of the Arduino uno R3 that you have today.
Frequently Asked Questions
What is the microcontroller used in Arduino Uno?
The microcontroller used in Arduino Uno is the ATmega328P. It’s an 8-bit AVR RISC-based microcontroller known for its simplicity and reliability in handling basic to intermediate embedded tasks.
Which microcontroller is used in Arduino Uno?
The Arduino Uno uses the ATmega328P microcontroller. It comes with 32KB flash memory, 2KB SRAM, and operates at 16 MHz, making it ideal for educational and prototyping purposes.
How many microcontrollers are there in Arduino Uno?
There is only one main microcontroller in Arduino Uno: the ATmega328P. However, there’s also a secondary chip (ATmega16U2 or CH340) used for USB-to-serial communication, but it’s not considered a general-purpose microcontroller for user code.
What type of microcontroller is used in Arduino Uno?
The type of microcontroller used in Arduino Uno is an 8-bit AVR microcontroller — specifically, the ATmega328P. It is designed for embedded systems and supports hardware-level timers, PWM, ADC, and digital I/O functions.
What is the role of the microcontroller in Arduino Uno projects?
The microcontroller in Arduino Uno acts as the brain of your projects. It reads input from sensors, processes data based on your code, and controls outputs like LEDs, motors, and displays. It’s responsible for executing every instruction you upload to it.
How to program the microcontroller in Arduino Uno?
You can program the Arduino Uno microcontroller using the Arduino IDE. Write your code in the IDE, connect your Uno via USB, select the board and port, and click “Upload.” The IDE compiles your code and transfers it to the ATmega328P microcontroller.