
Arduino Uno Price in India: Complete 2026 Guide That Saves Money
Compare genuine and compatible UNO boards, R3 versus R4, and starter kit costs before buying for your next project.
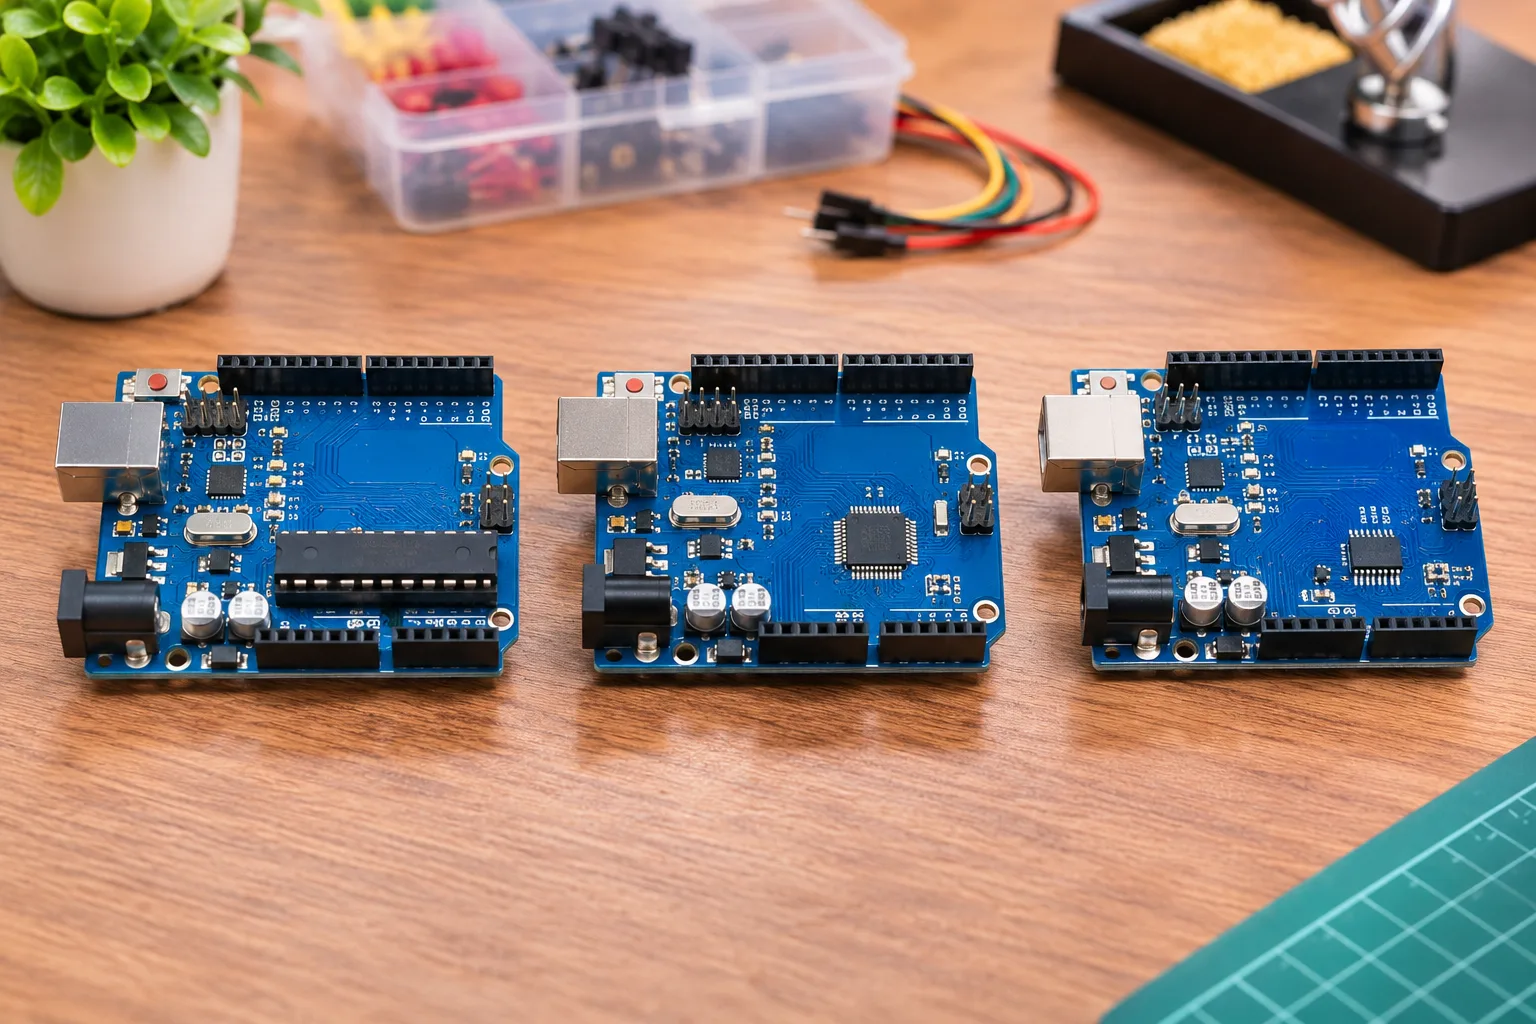
The arduino uno price in india can mean a ₹250 compatible R3 board or a genuine board costing several times more. Both may run your first LED sketch, but the USB interface, quality checks and support differ. Paying more is worthwhile only when those differences matter to your project.
For most first-time builders, we would buy a reliable UNO R3 compatible board, a USB data cable and a small parts kit before spending extra on advanced hardware. If you need built-in WiFi or more memory, compare the UNO R4 variants instead. Prices and stock move quickly, so treat the figures below as observed Indian listings, not guaranteed quotations.
Arduino Uno price in India: realistic 2026 budgets
The arduino uno price in india depends first on whether you mean an official Arduino board or an UNO-compatible board. Those are not interchangeable descriptions of the seller, even when the basic sketches behave the same way. Recent Indian price comparison listings show compatible R3 boards around ₹200 to ₹500, while genuine UNO R3 offers commonly sit around ₹1,500 to ₹3,200. These are observed online listings, not a promise of stock or a fixed selling price. Compare the final checkout total, GST treatment and shipping before deciding.
A board that costs ₹250 without a USB cable can become a poor bargain when you need to buy the cable, breadboard and jumper wires separately. At the other extreme, an official board may cost several times as much without changing how an LED blink project works. We would choose based on the project and the amount of troubleshooting you can tolerate, not on the largest discount percentage shown on a product card.
Indian stores also list UNO R4 Minima boards at widely varying prices, with some offers below ₹1,000, and R4 WiFi variants often above ₹1,300. Check whether a listing says official, compatible, EK, Minima or WiFi. A suspiciously low price may refer to a different board or an out-of-stock listing. Keep a screenshot of the specification and invoice when buying for a college laboratory or reimbursement claim.
For an accurate comparison, write down four numbers: board price, required accessories, delivery charge and replacement cost if the board fails. The cheapest initial cart isn't always the cheapest working project. If your project is due next week, a known compatible board delivered on time can be more useful than an official board with uncertain dispatch.
Arduino Uno R3 vs R4: which hardware changes matter
The familiar UNO R3 uses an 8-bit ATmega328P at 16 MHz. It has 32 KB of flash and 2 KB of SRAM, plus 14 digital I/O pins and six analogue inputs. The UNO R4 Minima and R4 WiFi use a 32-bit Renesas RA4M1 at 48 MHz, with 256 KB of flash and 32 KB of RAM. All three retain the familiar UNO-sized board layout and 5 V logic, but the internal architecture is different. That difference affects libraries and low-level code more than it affects where you plug in a simple pushbutton.
The R3 normally uses a USB-B connector. R4 boards use USB-C. R4 adds a real-time clock, a 12-bit digital-to-analogue converter and more capable analogue conversion. The R4 WiFi also carries an ESP32-S3 connectivity module and a 12 by 8 LED matrix. The R4 Minima documentation confirms it doesn't have built-in wireless connectivity. Buying Minima for a WiFi attendance project would mean adding another module or changing boards later.
A beginner following an old tutorial should not assume every AVR library works unchanged on R4. Code written using standard Arduino functions often moves across, but direct AVR register manipulation and some processor-specific libraries do not. Arduino documents this distinction in its R3 and R4 comparison. If the assignment requires a particular board package, buy that board instead of trying to make a more expensive replacement fit the worksheet.
There is another practical difference: The R3 documentation and R4 comparison list 20 mA as the recommended per-pin current for R3 but 8 mA for R4. Neither board should directly power a motor. Use a driver, separate suitable supply and common ground. The R4's faster CPU doesn't make its I/O pins suitable for driving heavy loads. We prefer the R3 for a course that already provides R3 diagrams, and the R4 Minima for a fresh project that benefits from extra memory or its built-in peripherals.
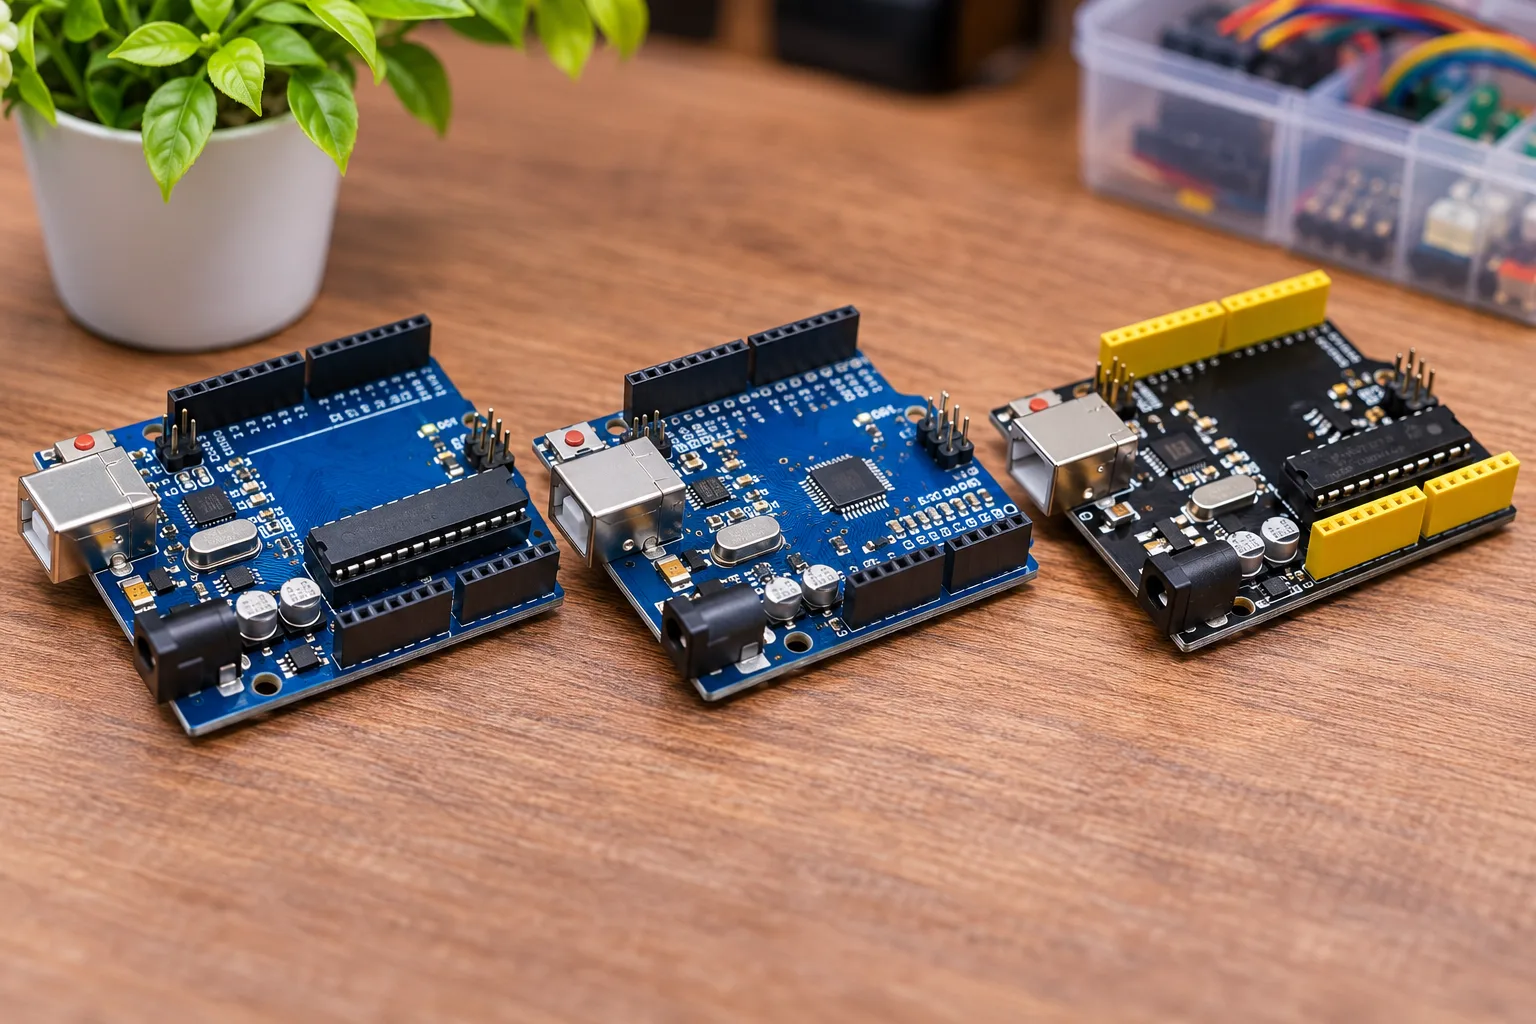
Original vs clone Arduino Uno: a fair comparison
An original Arduino UNO is manufactured and sold as an official Arduino product. A compatible UNO board is a third-party implementation intended to work with the same general development workflow. The Arduino platform's open hardware approach is why compatible boards are common. A compatible board should be described honestly as compatible, not advertised as genuine simply because the word UNO appears in the listing.
Many budget R3 boards use the ATmega328P and a CH340-family USB-to-serial interface instead of the USB interface on an official R3. This can affect how the computer recognises the board. You may need a suitable driver and you should confirm that the selected serial port appears in the Arduino IDE. A low-cost board can still upload sketches and control sensors perfectly well, but solder joints, USB sockets, voltage regulators and bootloader setup vary between suppliers.
Inspect the photographs and specifications. Look for a readable microcontroller marking, straight header pins, an undamaged USB socket and clear information about the USB interface. Don't treat a product photo as proof that the delivered board has identical components. For repeated classroom use, the ability to obtain the same revision again is often more valuable than saving a small amount on one unit.
Official boards have a clearer provenance and documentation trail. Compatible boards can be sensible for experiments where a damaged board would be expensive to replace. We wouldn't call every clone unreliable or every original essential. Instead, budget for one spare board if your class has many students, and test each board before the teaching session. A board that arrives with no working bootloader can consume the first hour of a workshop.
Arduino Uno starter kit: what to buy first
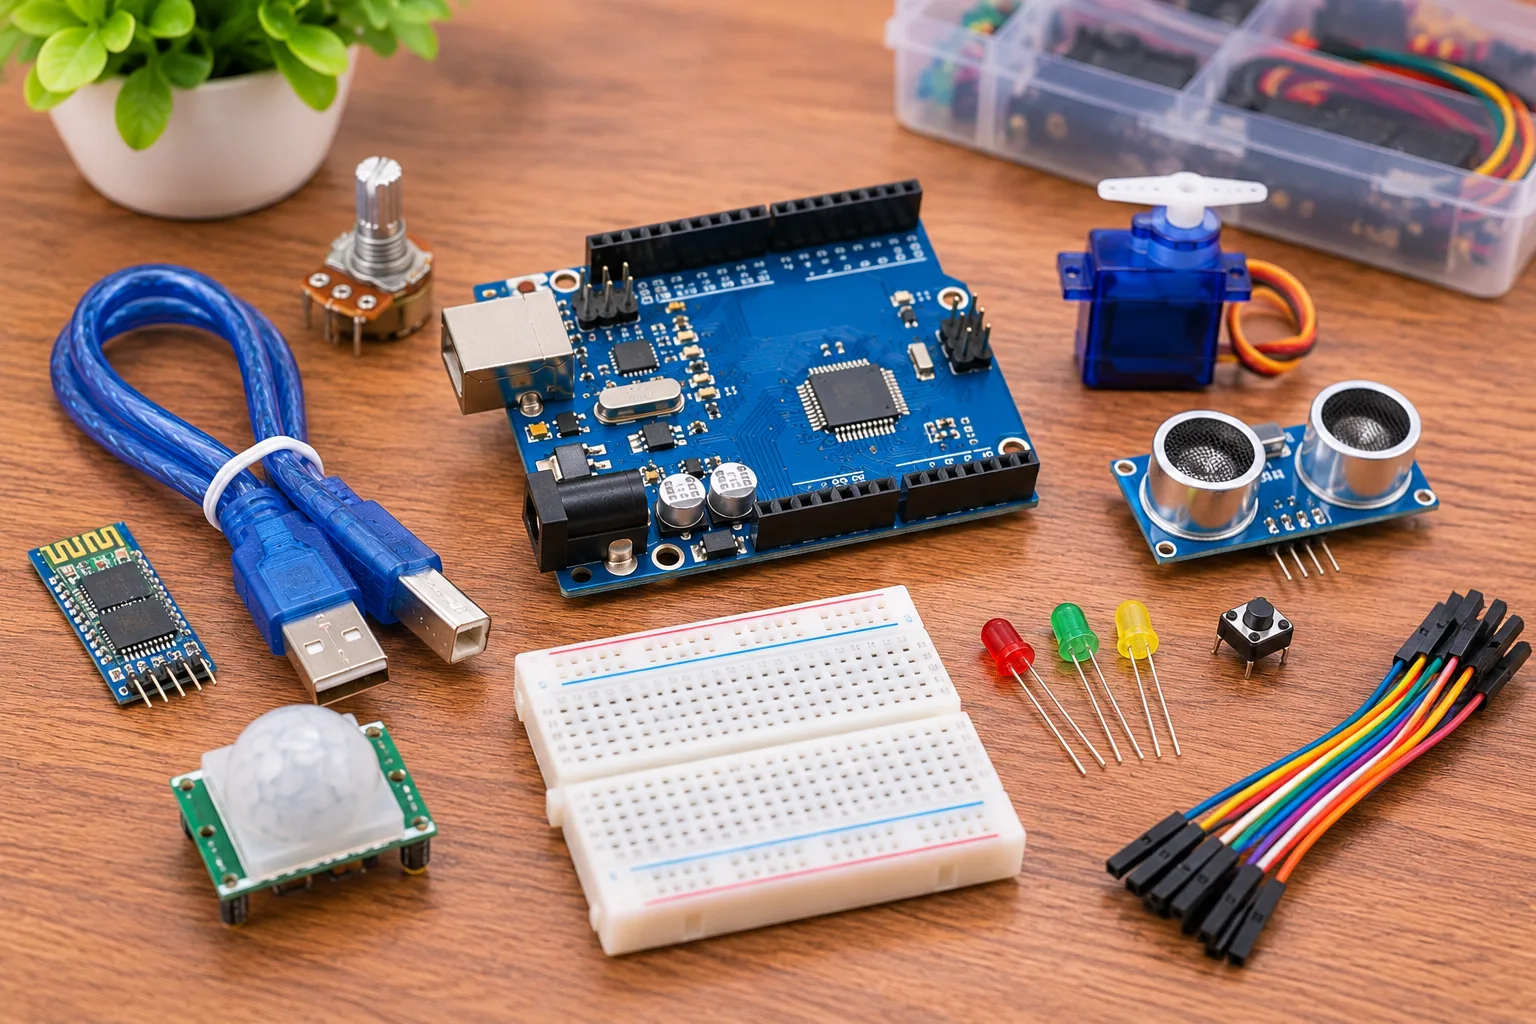
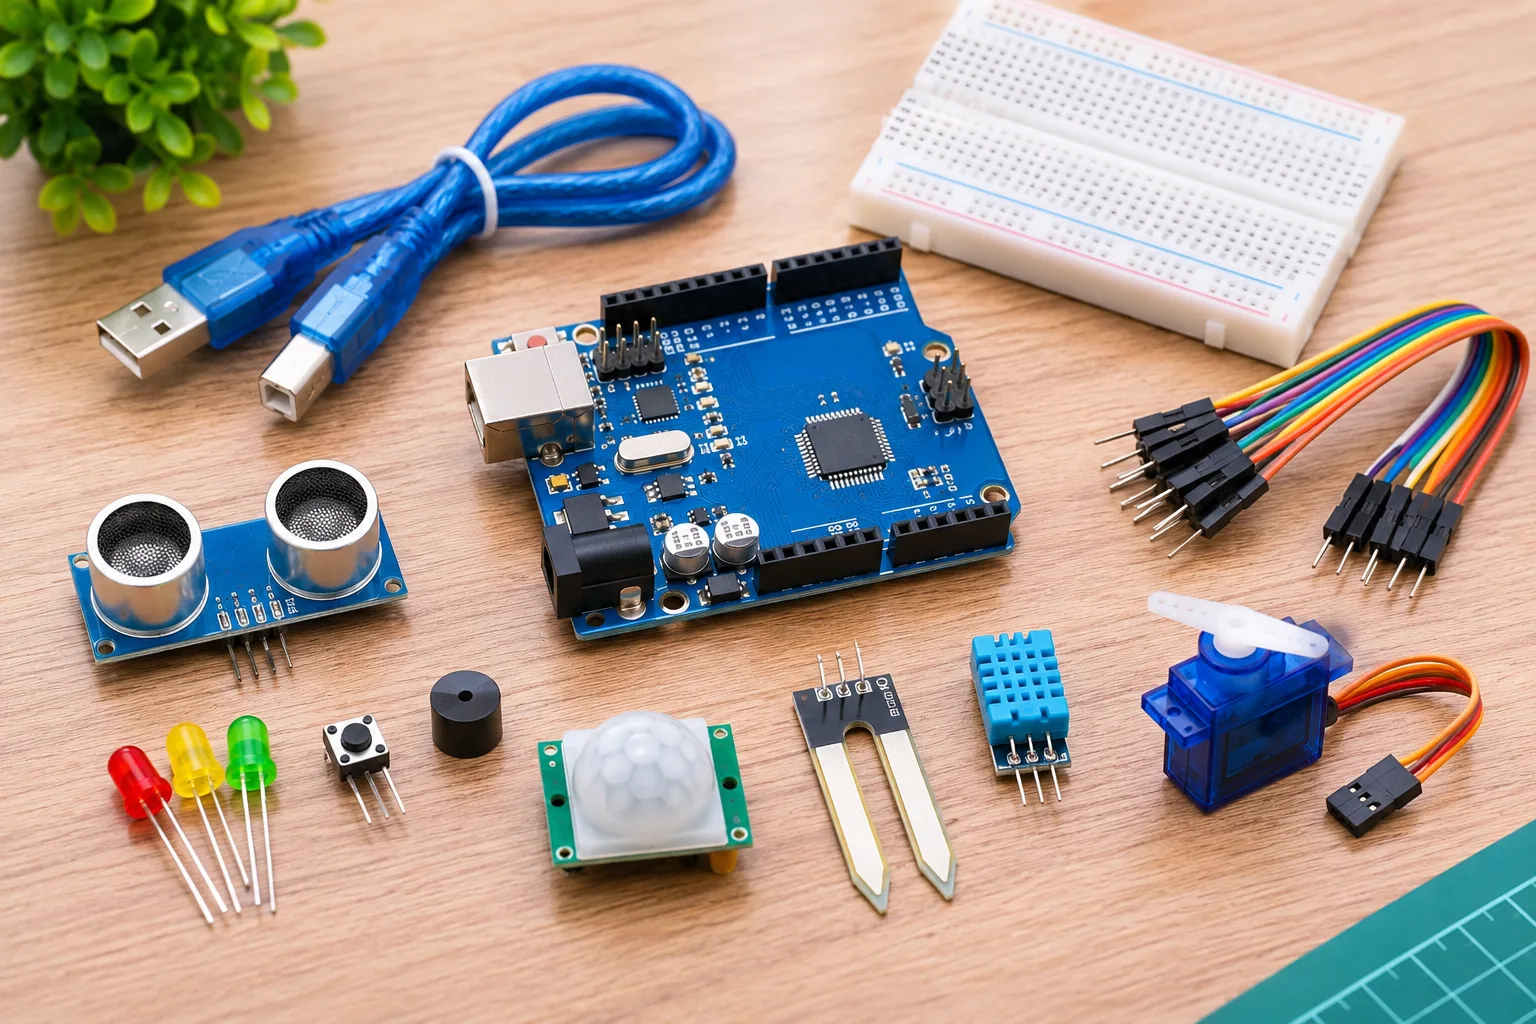
An Arduino Uno starter kit should give you enough parts to build several circuits, not just a large box of unrelated sensors. For a first purchase, we want an UNO board, a USB data cable, a breadboard, jumper wires, assorted resistors, LEDs, pushbuttons and a potentiometer. A simple light sensor and a small servo add useful experiments after the first week. Written instructions with a wiring diagram for each exercise matter more than a headline claiming dozens of projects.
Before paying, check whether the board is included. Some listings say "for Arduino" and contain only sensors or accessories. Also check the cable connector: USB-B for a conventional R3, USB-C for an R4, and sometimes a different connector on a compatible board. A charge-only cable can power the board but cannot upload code. The small difference is easy to miss when you are assembling a kit for a student who has never opened the IDE.
Starter-kit prices vary with the component count and quality. Recent Indian listings show basic kit offers around ₹1,000 and more comprehensive UNO R3 kits around ₹2,200 or more. Rather than using price alone, compare the actual parts against the first five experiments you intend to complete. If your goal is a line-following robot, add a motor driver, suitable battery holder, chassis and IR sensors to the shopping list. A basic LED kit won't magically become a robot kit.
We would avoid a beginner kit full of modules without a parts list, example code or clear labels. It is harder to diagnose a fault when the supplied sensor has no pinout. For self-study, a modest kit with reliable instructions is better than a crowded box. For a college batch, standardise on one kit revision so everyone can follow the same circuit and software steps.
Best Arduino board for beginners by project
For the first month of coding and electronics, a UNO R3 compatible board is usually the economical choice. Its tutorials are abundant, the pin labels are easy to see and it can handle LEDs, buttons, basic sensors and simple motor-driver projects. An official UNO R3 makes sense if your institution specifies genuine hardware or you want a clearly documented reference board. The project requirements should decide which premium is justified.
Choose UNO R4 Minima when you need more program memory, a real-time clock, DAC output or an introduction to a 32-bit controller while retaining the UNO footprint. Choose UNO R4 WiFi when the project actually needs onboard WiFi or Bluetooth LE. The wireless board can reduce separate module wiring, but network code adds setup work. For a student's first blinking LED, paying extra for connectivity gives little immediate benefit.
The Nano is worth considering when physical space matters and you can work with smaller headers. The Mega is useful when you need substantially more I/O for a large display or several modules. An ESP32 development board is attractive for WiFi-heavy projects, but its typical 3.3 V GPIO demands more care with 5 V sensors and shields. We wouldn't replace a board named in a practical exam with an ESP32 just because it has a faster processor.
For group projects, think about who will support the code. A technically stronger board isn't automatically the easier board when your teacher's examples and available libraries target AVR. Start with the board that lets you finish one working circuit, understand why it works and then extend it. A board bought for hypothetical future features often sits unused while the required breadboard and cable are missing.
How to test a new Uno before connecting sensors
A new board deserves a five-minute check before you attach a motor, relay or expensive sensor. Place it on a dry, non-conductive surface. Inspect the underside for loose solder, bent pins or a metal fragment that could short two contacts. Use a known USB data cable and connect it directly to the computer rather than through an uncertain hub. The power LED should light, although the exact LED behaviour depends on the board.
Install the current Arduino IDE and select the matching board family. For an R3, use the Arduino AVR Boards package and select Arduino Uno. For an R4, install Arduino UNO R4 Boards and select Minima or WiFi as appropriate. Then select the serial port associated with the board. On a compatible R3, confirm whether its USB interface needs a driver. Don't download random driver executables from an advertisement; use a trusted vendor source.
Open the built-in Blink example, compile it and upload. The LED on pin 13 should flash. If compilation fails, read the first meaningful error rather than immediately reinstalling everything. If upload fails, check the cable, port, selected board and any wires connected to pins 0 and 1. Those pins are used for serial communication on the classic R3, so attached devices can interfere with uploads.
After Blink, connect an LED through a current-limiting resistor and test a pushbutton with the internal pull-up resistor. Use INPUT_PULLUP and connect the switch to ground so you avoid a floating input. Check that the LED responds consistently. This sequence separates USB and programming problems from sensor wiring problems, and it gives you a known-good baseline for every later experiment.
Common mistakes that waste an Arduino budget
The most expensive beginner mistake is buying the wrong variant for a tutorial. A sketch that depends on AVR registers may not compile on R4, while an R4 WiFi example cannot make an R3 connect to a network without extra hardware. Read the required board name before ordering. The same applies to shields: physical header compatibility doesn't guarantee that every supporting library has been updated for a different processor.
Another frequent problem is treating the 5 V pin as an unlimited power supply. Motors and servos can pull far more current during startup or stall than the USB connection and onboard regulator can comfortably supply. Use an appropriate external supply for loads and connect grounds where the driver design requires it. Never connect a motor directly to a microcontroller output. Don't feed 230 V mains into a breadboard project; use properly isolated, rated modules and qualified supervision for mains work.
Cheap rectangular 9 V batteries are also a poor default for motor projects. They may provide enough voltage on paper but struggle with load current. For a basic UNO demonstration, USB power is easier to monitor. If you use the barrel jack, respect the manufacturer's recommended input range and check regulator heating. A board that becomes unusually hot should be disconnected and inspected before another test.
People also lose time with a USB cable that carries only power, reversed LED polarity, missing ground connections and code copied for a different sensor module. Label your wires, check pin names against the actual board and test one module at a time. If you purchase a low-cost compatible board, save the USB interface and driver details with the project notes. Those few details make future troubleshooting much faster.
Buying checklist for India and the next build
Before ordering Arduino accessories, write down your project, required board family and deadline. Then compare two or three complete carts, not isolated board prices. Confirm that the listing includes the USB data cable you need, that the seller states whether the board is official or compatible, and that the product photographs match the chip and connector described. Check the return terms for a board that arrives with a damaged USB socket or cannot be programmed.
For student procurement, keep the board revision and accessory list consistent. One group using R3 and another using R4 can create avoidable library differences when the teacher expects identical results. If you are preparing a workshop, test a sample board, cable and sensor before buying the full batch. Include a few spare jumper wires and LEDs. Those cheap items are often the first to disappear or fail after repeated use.
Keep the first build small. A breadboard LED circuit teaches polarity and resistance. A pushbutton introduces digital input and pull-ups. A potentiometer demonstrates analogue input, and a servo introduces timing and external power planning. Once these work, choose a project with a specific outcome, such as a parking indicator or distance alarm, rather than collecting more modules without using them.
Our practical choice for a strict student budget is a clearly labelled UNO R3 compatible board with a tested USB data cable and a small component kit. Move to an official R3 for traceable classroom purchasing, or an R4 when its extra hardware is part of the assignment. Compare current electronics components and development boards at ElectroGlobal, and verify availability and connector type before checkout. The right purchase is the one you can program, wire and repair within your actual project deadline.
Tagged