
Li-ion Battery Pack for Robotics: The Honest 3S Guide Most Get Wrong
We size a 3S 18650 pack for a robot from actual motor stall currents, compare Li-ion, LiPo and NiMH, and explain why the BMS rating decides whether the pack survives.
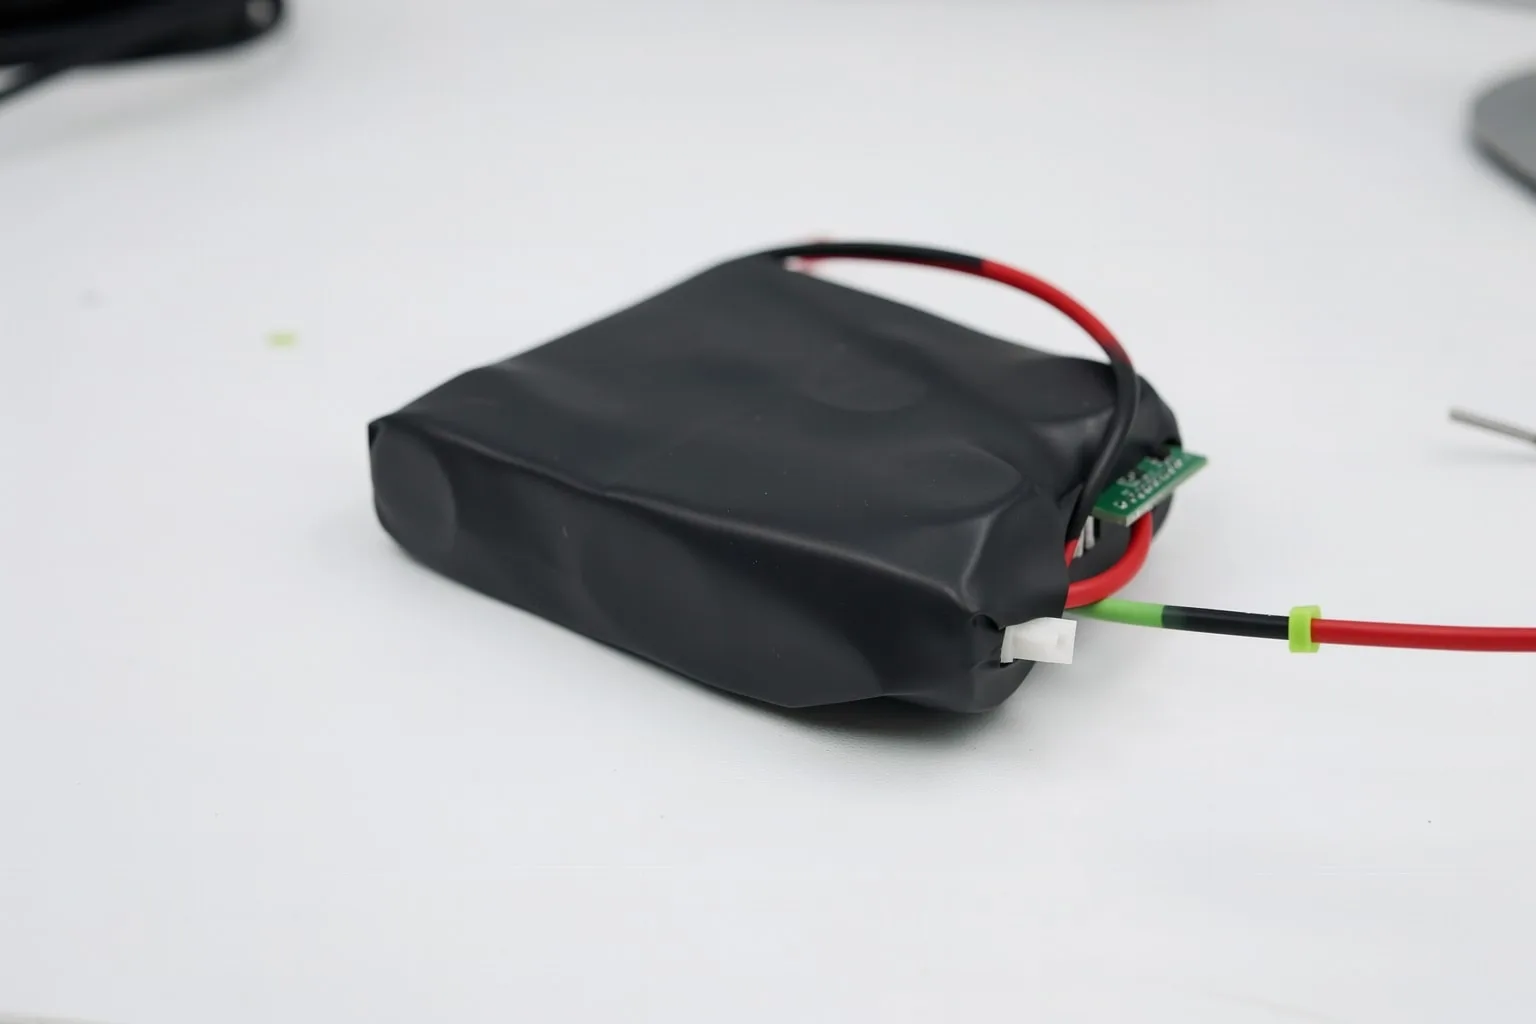
A robot that resets the moment both motors spin up has a battery problem, not a code problem. We see it constantly. The pack reads a healthy 11 V on a multimeter, then sags under load until the microcontroller browns out. Nobody checked the motor stall current, and nobody checked the pack's discharge rating.
For most robot cars and small mobile robots, the right answer is a 3S li-ion battery pack for robotics built from 18650 cells, with a BMS rated well above your peak current and a proper CC-CV charger. Get those three right and the battery stops being the part that fails.
We design and bench-test hardware at our Jaipur workshop, and this is the conversation we end up having with every robotics team that visits us. So we've written it down, sizing maths included.
What a li-ion battery pack for robotics actually is
A li-ion battery pack for robotics is a set of individual 18650 cells wired in series and parallel. An 18650 cell is 18 mm in diameter and 65 mm long, a bit fatter than an AA. "3S" means three cells in series, which gives about 11.1 V nominal. Add a "2P" and you have six cells, two parallel strings of three, doubling capacity without changing the voltage.
Nominal voltage and full-charge voltage are different numbers, and mixing them up causes ordering mistakes. A li-ion cell sits at 3.6 to 3.7 V nominal but charges to 4.2 V maximum. So a 3S pack reads 11.1 V nominal on the label and 12.6 V when it comes off the charger. Both are normal.
Why does 18650 dominate robot car kits? Cells are cheap and easy to find in India, holders and BMS boards exist for every common configuration, and high-energy li-ion chemistry stores 150 to 250 Wh per kg. For a robot that has to run for hours, that ratio is hard to beat.
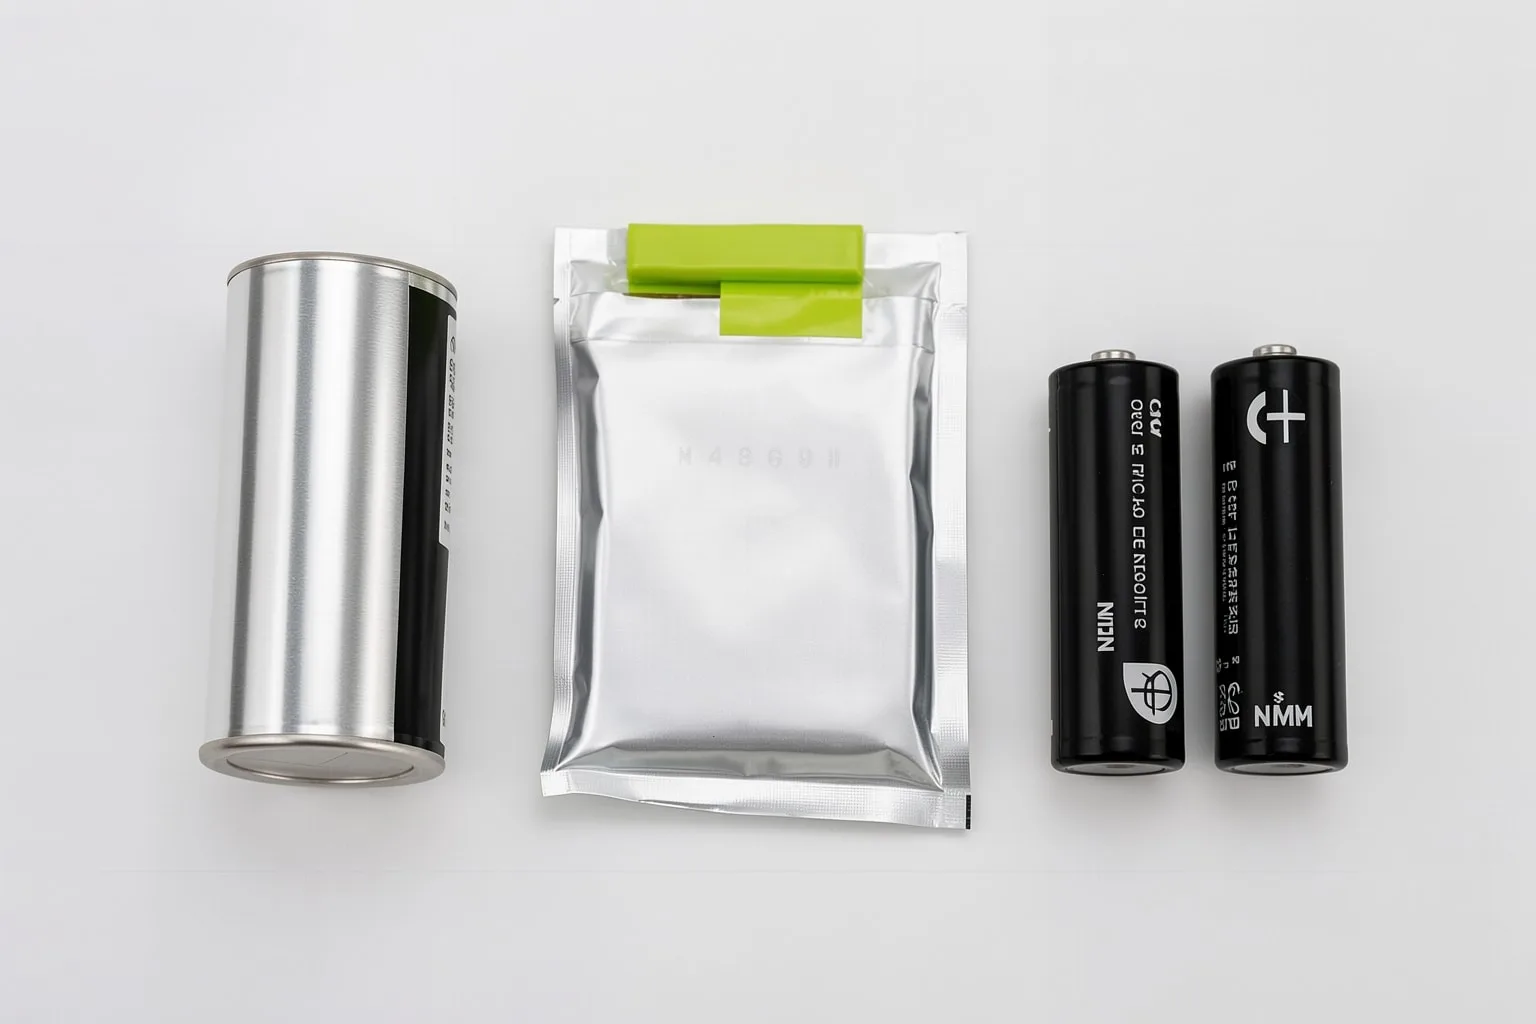
Li-ion vs LiPo vs NiMH for robots
Most listicles stop at "LiPo is powerful, NiMH is safe". This is the comparison we actually use when recommending a pack.
| Property | Li-ion (18650) | LiPo | NiMH | LiFePO4 |
|---|---|---|---|---|
| Nominal cell voltage | 3.6 to 3.7 V | 3.7 V | 1.2 V | 3.2 V |
| Typical continuous discharge | 1C to 2C (high-energy cells) | Very high, often 10C or more | Moderate | 1C to 40C depending on cell |
| Charging method | CC-CV to 4.2 V | CC-CV to 4.2 V | Simple constant current | CC-CV to 3.6 V |
| Energy density | 150 to 250 Wh/kg | Similar or slightly higher | Much lower | Lower than li-ion |
| Physical toughness | Rigid steel can | Soft pouch, dents easily | Very tolerant | Very tolerant |
| Best for | Endurance robots | Burst current, drones | Budget and beginner bots | Safety-first designs |
Two chemistries we'd skip entirely. Lead-acid (SLA, VRLA, gel, AGM) handles frequent charge and discharge cycles poorly, so it belongs in backup power, not in something you cycle daily. NiCd is being phased out because of toxic cadmium, and NiMH does everything NiCd did without the poison.
When a LiPo is the better choice
If your robot needs violent bursts of current, a line follower that slams into corners, a drone, a combat bot, LiPo wins. High-current li-manganese cells discharge at 5C to 30C, and LiPo packs are built around exactly that. The trade-off is the pouch. It dents, it puffs if you over-discharge it, and it wants to sit at roughly 3.8 V per cell if the robot idles for weeks. For an endurance rover that cruises for hours, we'd take 18650 li-ion every time.
Sizing the pack: voltage, capacity and discharge rate
Start with voltage. 12 V gear motors are happiest on a 3S pack: 11.1 V nominal, 12.6 V fully charged. Most 12 V hobby gear motors accept that range without complaint. Your Arduino or Raspberry Pi is a different story, because it needs a clean 5 V, so add a buck converter rated for at least 3 A. A linear regulator dropping 11 V to 5 V just turns the difference into heat.
Now current. Here's a worked example for a two-wheel-drive robot car:
- Look up the stall current of one drive motor. A typical hobby gear motor stalls somewhere between 1 and 2 A at 12 V, but check your motor's datasheet rather than guessing.
- Assume both motors stall at once, which happens the moment your robot hits a wall. Two motors at 1.8 A each is 3.6 A.
- Add the electronics: microcontroller, sensors, buck converter losses, say 0.5 A. Peak draw is about 4.1 A.
- Size the pack's continuous discharge rating to at least double that, so 8 to 10 A. Margin matters because real stall currents spike above datasheet typicals.
- Estimate runtime from average draw, not peak. If the robot cruises at 1.2 A, a 2600 mAh pack gives roughly two hours.
C-rating is just a multiplier on capacity. A 2C discharge on a 2000 mAh cell is 4000 mA. So a 3S1P pack of 2000 mAh cells rated 2C delivers 4 A continuous, which would be marginal for our example robot. The same cells in a 3S2P arrangement deliver 8 A, or you pick cells with a higher discharge rating in the first place.
Bench tip: Size everything to stall current, not cruise current. Cruise current decides your runtime. Stall current decides whether the pack sags, the BMS trips and the ESP32 reboots every time the robot turns sharply.
Why your robot battery needs a BMS
A BMS (battery management system) is the small board that sits between the cells and your robot's power lead. Three jobs: it cuts off on over-charge, cuts off on over-discharge, and disconnects on a short circuit. On multi-cell packs it also balances the cells, so one weak cell doesn't drift low while the others sit full.
Match the BMS current rating to your peak draw, not your average. A 10 A 3S BMS is the standard choice for a small robot car; bigger packs need more. On a real Reddit thread on charging a custom 8S8P Li-ion robot pack, the builder paired a 33.6 V, 24 Ah pack with a 10-series 60 A BMS and a CC-CV power supply. That's the pattern: BMS rating and charging method get decided together, never separately.
One trap to watch: many cheap BMS boards quote different ratings for charge and discharge. A board sold as "10 A" may only be rated to charge at 5 A. Read the listing before you order, and you can find 3S boards in our batteries and robotics components range with the ratings written out properly.
Buying or building a li-ion battery pack for robotics
Buying a ready-made 3S pack
Ready-made packs save you the welding and arrive shrink-wrapped with a BMS already fitted. A typical example is a 3S2P 18650 pack: 11.1 V nominal, 5000 mAh, 3C discharge, which works out to 15 A continuous, with a 4-pin JST XH balance lead for charging. That covers most robot cars with room to spare. You pay more than the DIY route, but you skip the two most common DIY failure modes: a bad cell connection and a missing balance lead.
Building your own pack from cells
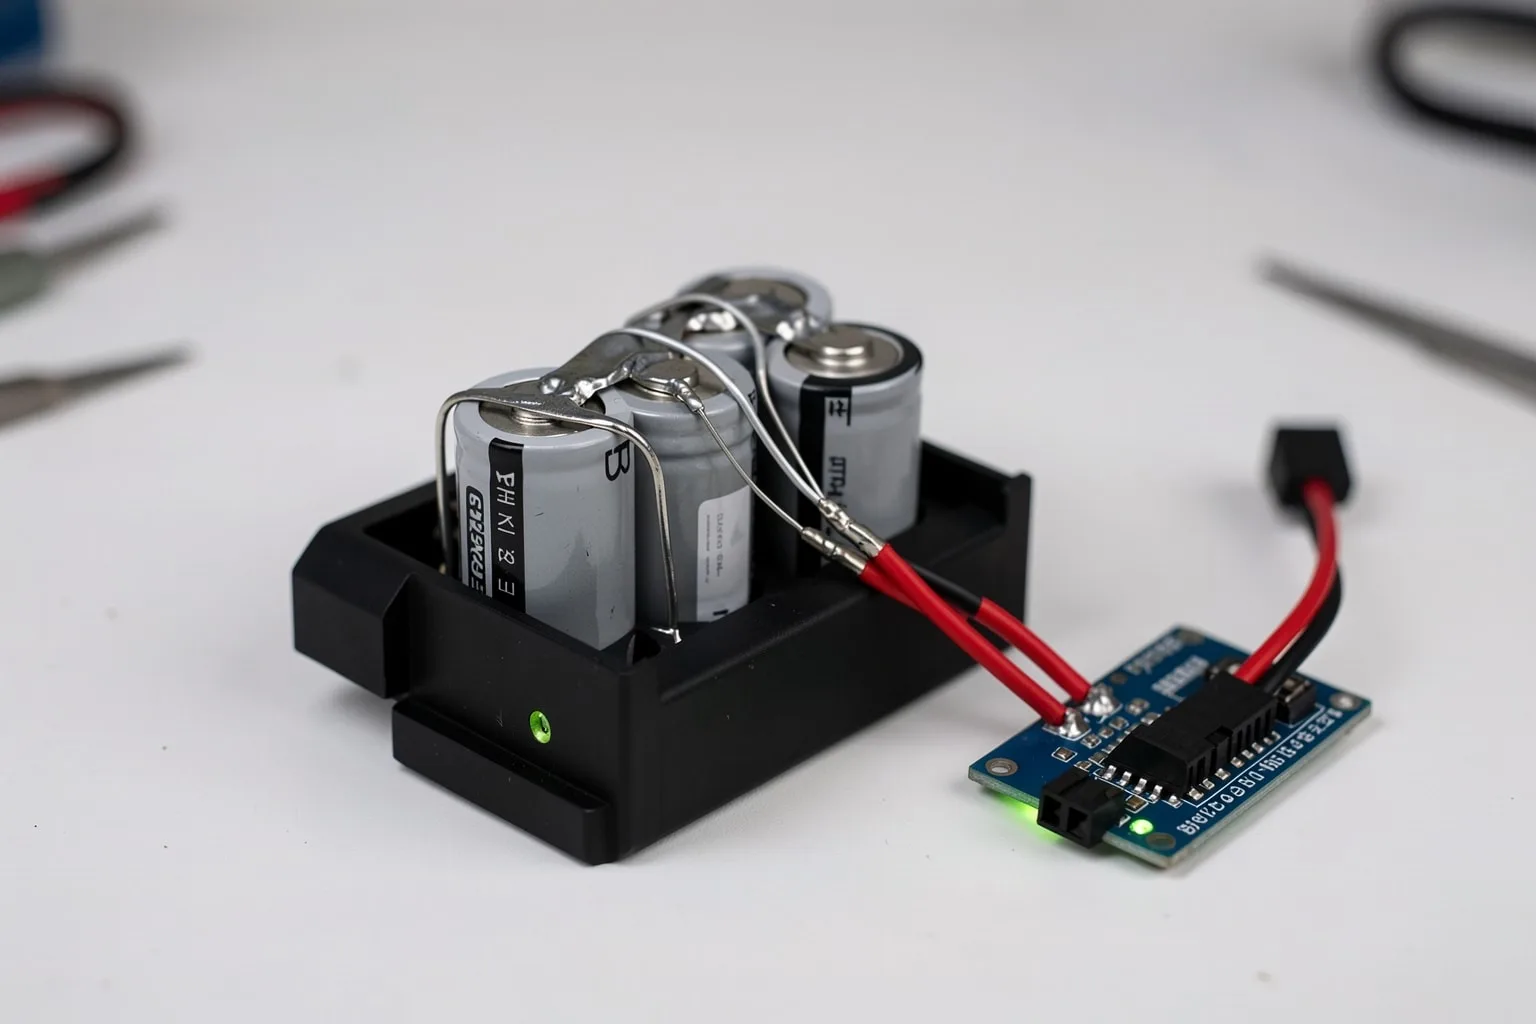
The DIY route is three 18650 cells, a holder and a 3S BMS board. Kits with three 1800 mAh cells, a holder and a 10 A 3S BMS sell in India for a few hundred rupees. It's the cheapest way to learn how series packs actually behave, and for a weekend project that's a fair trade.
The build detail that matters most is how you join the cells. Spot-welding nickel strips is the proper method, and it needs flat-top cells. Holders work with raised-button consumer cells. Don't mix them up: consumer protected cells are typically 2 to 4 mm longer than flat-top industrial cells, so a button-top cell will jam in a holder sized for flat tops or make poor contact in a welded pack. Check cell length against the holder before you order either one. We stock 18650 cells, holders and BMS boards if you want to source the parts together.
How to charge a li-ion robot pack safely
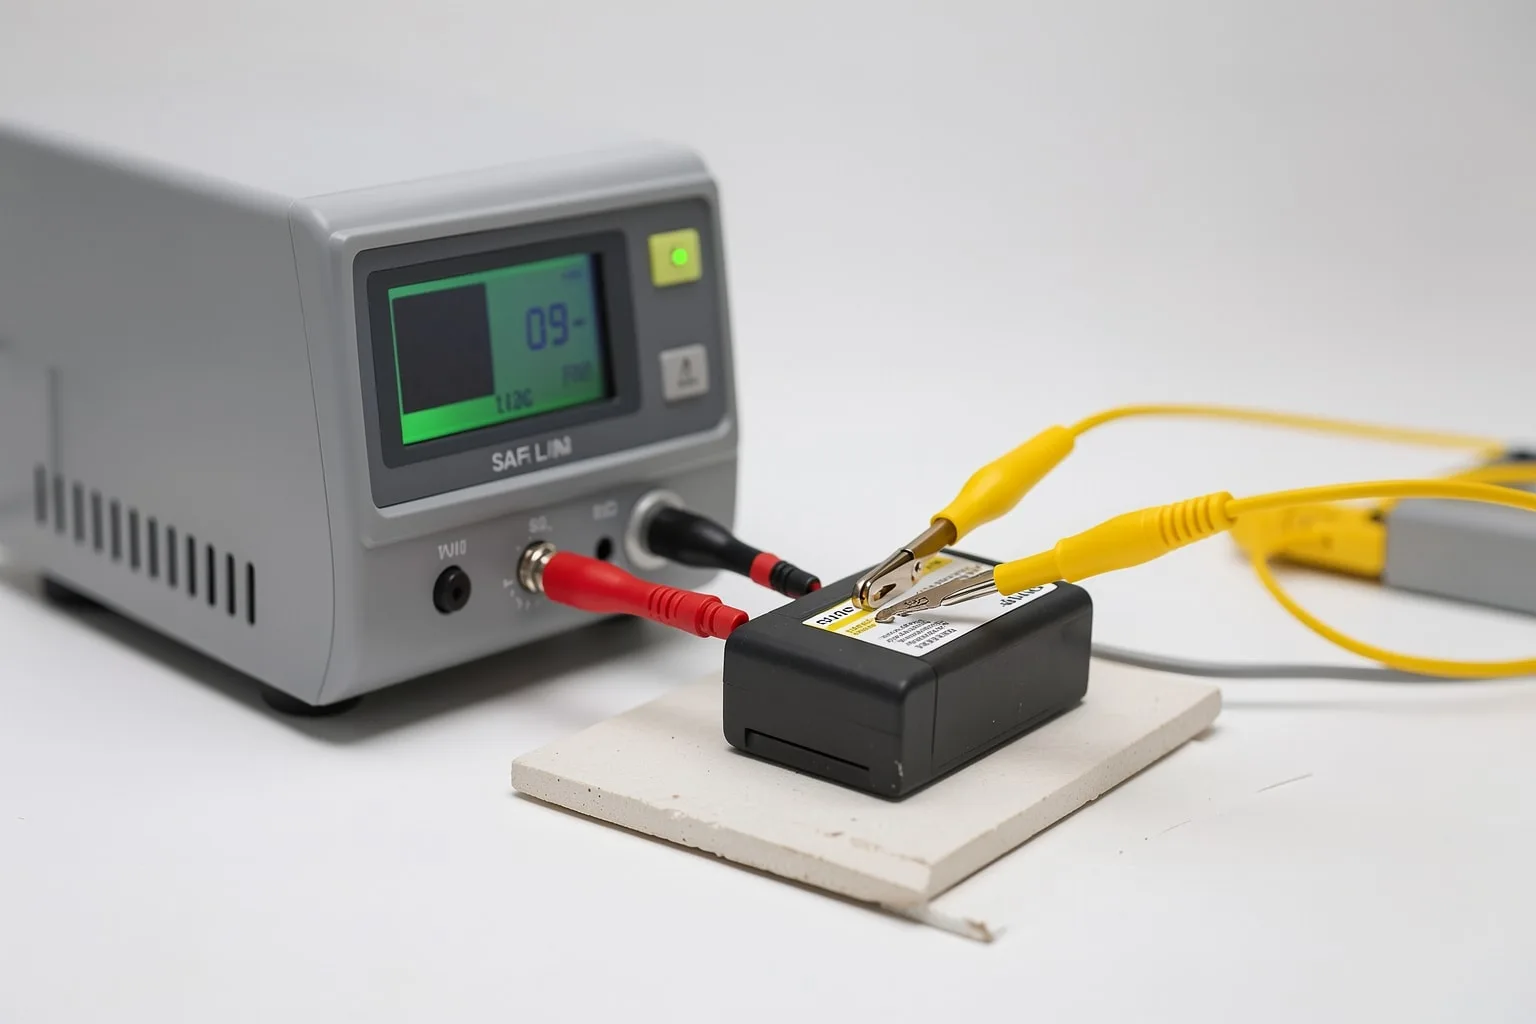
Li-ion charging is a two-stage process called CC-CV. The charger pushes a constant current until each cell reaches about 4.2 V, then holds that voltage while the current tapers down towards zero. Every safe way of charging a li-ion pack is some version of this.
- Confirm the pack's series count. A 3S pack charges to 12.6 V total, never more.
- Use a proper 3S balance charger, or a CC-CV bench supply you know how to set: 12.6 V output with the current limit at your chosen charge rate.
- Plug in the balance lead, the small white JST XH connector, so the charger can watch each cell rather than just the pack total.
- Set the charge current. About 1C is the practical maximum for high-energy 18650 cells, so roughly 2.6 A for a 2600 mAh pack.
- Charge on a non-flammable surface, in the open, where you can see it. Not on the carpet, not overnight while you sleep.
The mistake we keep hearing about is charging a custom pack straight from a bare bench supply with the voltage dial in the wrong place. Set a supply to 13 V instead of 12.6 V and you overcharge every cell slightly, every cycle. That's how li-ion fires start. If you don't fully trust your settings, buy the balance charger. It costs less than one damaged pack.
Indian conditions add two notes. Summer heat is hard on cells, so let a pack cool down before charging if the robot has been running in the sun. And in monsoon humidity, check connectors for corrosion before plugging in.
Real packs inside working robots
The same cell scales a long way. Husarion's ROSbot XL, a mid-sized ROS mobile robot, runs a 3S3P pack: nine Samsung INR18650-35E cells at 3500 mAh each, about 10.5 Ah at 11.1 V. Their larger Panther uses a 10S10P pack, one hundred 2000 mAh 18650 cells, for a 36 V 20 Ah system. Same cell family, very different robot.
Consumer robots use the same logic in smaller formats. Replacement packs for robot vacuums are commonly 14.8 V (4S) at around 2600 mAh. And if you're sizing something between a hobby car and a commercial machine, AYAA Tech's 2025 guide to robot batteries notes that mid-sized service robots and AMRs typically run 24 V or 36 V packs built from 18650 or 21700 cells with 5 to 30 Ah capacity and a cycle life of 2,000 to 4,000 cycles. Large AGVs go to 48-60 V and 50-200 Ah.
For a deeper look at how these choices play out on real platforms, Husarion's guide to choosing the right battery for your robot is worth a read.
Common mistakes with robot battery packs
Most of these come straight from forum threads and from packs customers bring into our workshop:
- Using a power bank as the main battery. USB power banks limit output current, and many refuse to charge and discharge at the same time. Fine for a phone, wrong for motors.
- Charging through a bare bench supply without a proper CC-CV profile and the right cutoff voltage. See the charging section above.
- Matching the BMS to cruise current. A 5 A BMS on a robot that stalls at 8 A will either trip constantly or, worse, run hot without tripping.
- Dropping 16.8 V (a full 4S) into 12 V motors. Some motors shrug it off, some cook. Check the motor's rated voltage range first.
- Ignoring cell length. Protected button-top cells are 2 to 4 mm longer than flat-top cells and won't fit holders or welded layouts designed for the shorter size.
- Buying zero discharge margin. A pack rated exactly at your peak current sags under load, and the sag, not the average, is what browns out your microcontroller.
Buying checklist before you order
- Chemistry and configuration written down: S count, P count, nominal voltage (3S is 11.1 V, 4S is 14.8 V).
- BMS included, with its discharge rating clearly above your stall-current peak.
- Continuous discharge rating checked against your worst-case current, with at least 2x margin.
- Connector types: does the pack's balance lead, usually 4-pin JST XH on a 3S, match your charger?
- Cell format: flat-top for welding, button-top for holders, and lengths that actually fit your chassis.
- If you're procuring for a college or a firm, ask for BIS-certified cells and chargers; IS 16046 covers lithium cells and batteries in India.
- A supplier that ships across India and handles warranty claims without a fight.
Our take: pick the pack for the job
For an endurance robot, a line follower, a rover, an AMR project, we'd order a 3S or 4S 18650 li-ion pack with a BMS and stop thinking about it. For a bursty robot or a drone, a high-C LiPo. For a first educational bot on a tight budget, NiMH is still a legitimate and safe choice, just heavier per hour of runtime.
Whatever chemistry you land on, two things decide whether the pack survives its first month: a BMS sized to your peak current, and a charger that matches the pack's series count. Get those right and even a modest pack will outlast the project.
If you're ready to order, browse batteries and robotics components at ElectroGlobal. We stock 18650 cells, holders, BMS boards and ready-made packs, and if you're unsure which configuration fits your motors, send us the stall current and we'll size it with you.
Tagged